

This write-up originally appeared on CheckingInWithChelsea.com.
Impressed by at this time trending raffia-coated home furnishings, I’m exhibiting you how to create your personal Tv set console desk lined in wallpaper for $150!
**I partnered with Titebond for this venture which makes me really energized because…I made use of their primary wooden glue and ONLY their wooden glue to hold my full desk with each other! What?!**
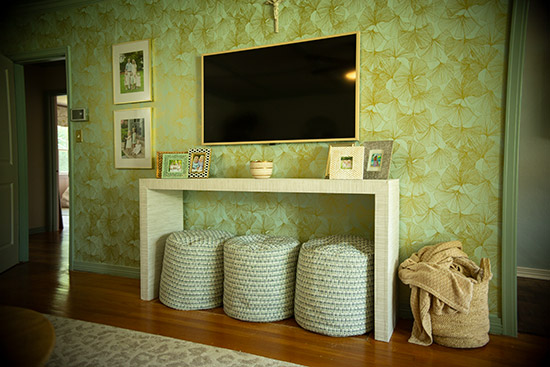
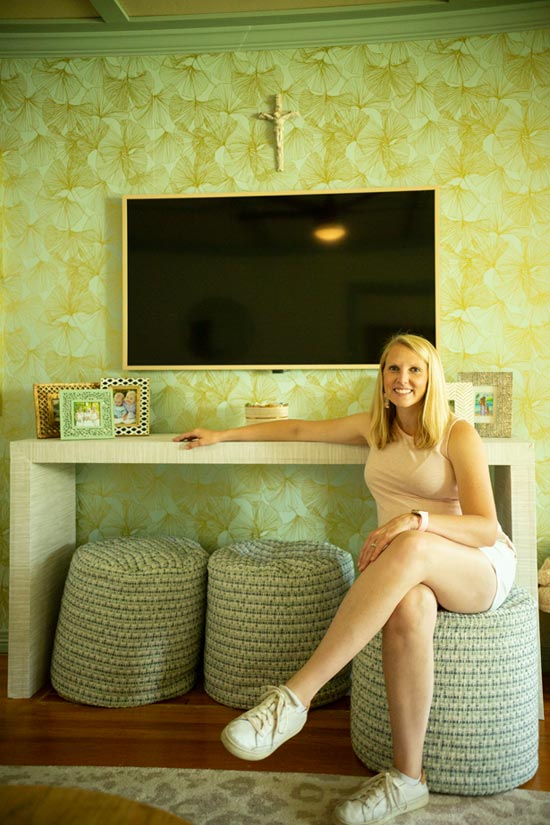
The target for my household was a tall and broad table without the need of any visible supports that broke up the cleanse lines. The overall proportions of my concluded desk are 70″ huge and 35″ tall. So retain that in mind with the resources and slash lists beneath!
What to Obtain
What to Cut
1x2s:
- (4) @ 32″
- (7) @ 14-1/2″
- (2) @ 70″
3/4″ plywood:
- (4) 32″ long x 16″ huge
- (2) 70″ long x 16″ huge
Making the Console Table Packing containers
Effectively we are generating 3 separate packing containers. 2 will be the legs and 1 will be the tabletop.
Begin with the 2 smaller sized boxes (legs) to get your ft damp. Lay a 32″ piece of plywood down and insert your Titebond wooden glue together the leading facet of all 4 edges. Then lay a 1×2 on its aspect on top rated of the glue, building confident it is flush with the edge of the plywood.
The 32″ parts of 1×2 will go from edge to edge of the plywood even though the 14.5″ parts must fit snuggly involving.
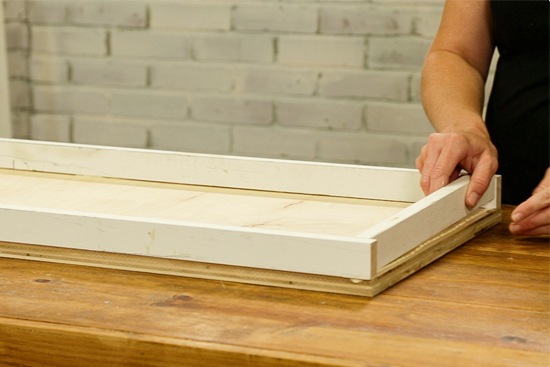
The moment you have the 1x2s lined up on the edges just so, run a bead of wooden glue on the top rated of them.
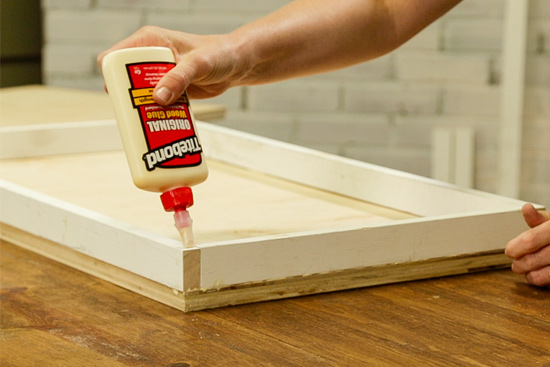
Carefully set a different 32″ piece of plywood on major. Now your box leg is total!
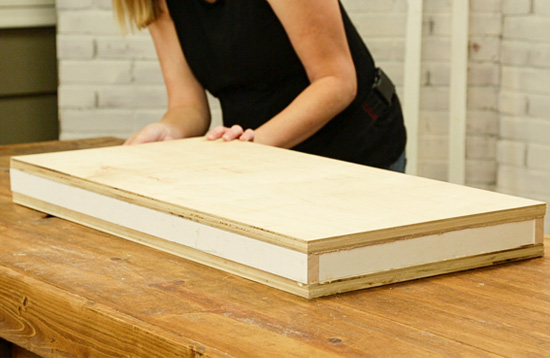
Repeat for the other leg, utilizing a number of clamps if necessary to develop tremendous tight joints!
You will observe the same measures to build the tabletop, only you will increase an further 14.5″ 1×2 aid someplace in the middle. This will aid maintain the lengthy 1x2s from sinking in and increase all round steadiness to the table.
Waiting is the Toughest Component
If you’ve at any time tried to pry wood aside which is been glued with Titebond, even for a several minutes, you know it’s essentially difficult to do perfectly.
And which is why you really do not need any nails or screws to maintain your desk with each other. Wooden glue, when fully dried and fixed, is actually stronger than fasteners! So insane but oh so real!
Enable your 3 bins dry and set up for at least 30 minutes prior to going on to the upcoming stage.
Incorporating Legs to the Table Leading
Assuming your ground is amount, set your leg packing containers upright, about 70″ apart. Utilize enough quantities of wood glue to the tippy top rated of your legs and gently set the tabletop in place. Regulate the prime so it’s flush with the outside of your leg on just one facet right before adjusting the other leg.
For a desk this huge, it would be beneficial to have a buddy or partner hold the good side in spot although you manipulate the other facet. But with a handful of back-and-forths, you can take care of it oneself too!
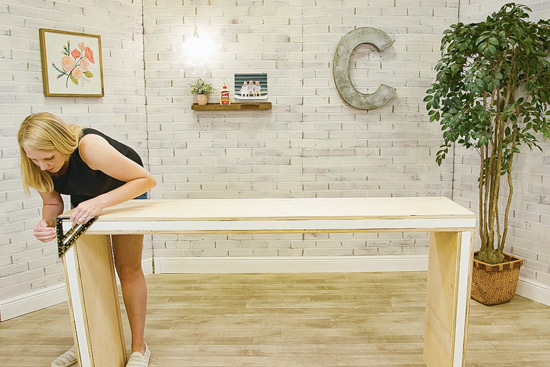
I made use of a pace sq. to make confident the legs had been at 90-diploma angles. Not a poor resource to have in your arsenal if you never have one already!
When you’re content with your leg circumstance, enable it sit for about 30 minutes ahead of you start off covering almost everything in wallpaper!
Adhering Wallpaper to the Console Desk
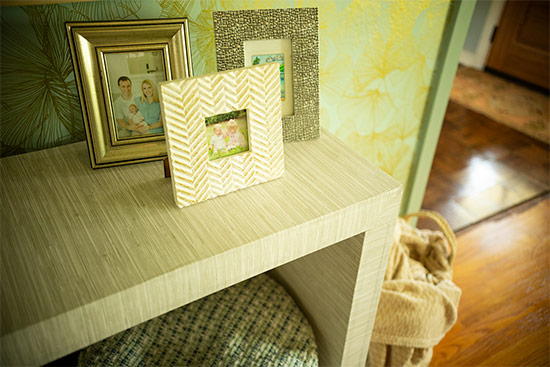
I enjoy the texture of a raffia or light-colored wood desk. And immediately after a friend shared an affordable peel-and-stick wallpaper she employed that appeared like fake grasscloth, I understood I could use that to generate the texture I desired for this piece of home furnishings.
I also needed the desk to search like one particular slab of wood. To develop that influence with the wallpaper, I started out at the bottom of a single leg, took it up and about the top rated, and then down the other leg with out any cuts or seams. I also lined it up with the again edge of the desk so it could fold and go down the entrance edge without the need of any seams.
Ideally, the online video greater illustrates how I dealt with the corners, so look at it higher than! I had the paper that came from the tabletop less than the paper from the legs. Then I scored on the paper by itself the 45-degree angle from the inside corner to the outside corner of the wooden construction. I lower any excessive paper from the top and then trapped it down. Future, I slash the layer of paper coming from the legs alongside the line I just scored. So when everything was laid flat and trapped down superior, it appears to be like like my legs and tabletop have been mitered alongside one another.
At first I prepared to thoroughly trim the excessive at the end of the entrance edge, but due to the fact it folded so nicely without having any effervescent, I folded the inch or so excessive and trapped it to the inside of of the table.
And that acquired lined up up coming with a different operate of wallpaper. I acquired enough wallpaper (2 rolls) to address the inside of the legs and the underside of the tabletop. And due to the fact I was a lot less concerned on the underside about viewing seams, I covered them individually and ended up not covering the underside of the tabletop alone. You truly can’t see it in the course of day to day use and it saved me $27 by not opening the 2nd roll.🤷♀️
Oh and for the legs, the inside of wallpaper was flush with the front edge so the surplus was just folded more than and caught on to the again of the legs. Yes, it appears to be like unfinished from the backside. BUT WHO CARES?!

The only spot I necessary to trim wallpaper was at the foundation of the legs. I propped up just one leg at a time with a scrap piece of 1×2 so I could trim it as exactly as doable. I did not want any sliver of wood showing and supplying absent my table’s insider secrets!
About an hour or so after finishing the desk, there was even now a little wobble to it if you shifted it from facet to facet. But following leaving it by itself right away, the wiggle was gone and this table was durable, secure and ready to move to its new dwelling!
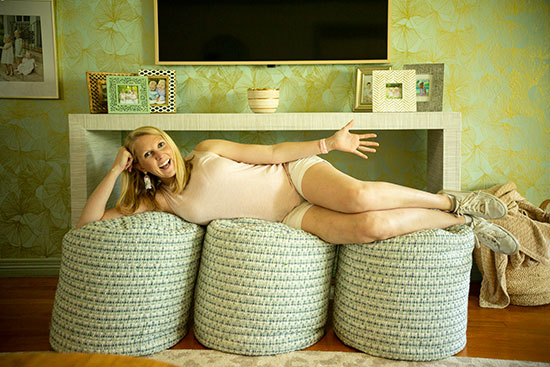
I ordered our poufs from Residence Depot* to provide as decoration AND additional seating. They are like advanced beanbag chairs and the kids have by now pulled them out to sit and roll around several periods!
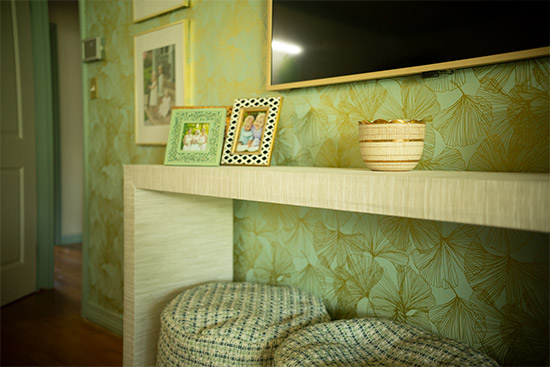
The wallpaper guiding the Television set and console was recently hung to make an accent wall. I like it by alone but I’m nonetheless trying to figure out if I like the space as a total with the wallpaper in it.🤔
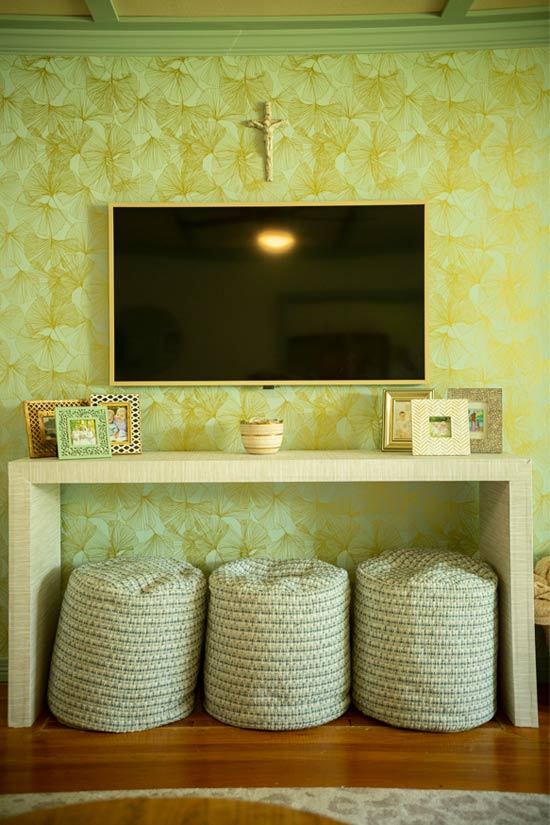
But we do appreciate the sleekness of our Frame Television set*! It was a splurge we addressed ourselves to when our former property sold for way about the inquiring cost. Now I’m imagining I may well brush some gold paint on the body to match other gold frames in the space. The projects and concepts by no means prevent about in this article! Ha!
*This article consists of affiliate hyperlinks.*