
[ad_1]
This thrift retail store come across was not my style. A very simple repair wth a new graphic on this lazy susan makeover task!
Good day pals! And satisfied Friday!! Yay for the weekend. 🙂
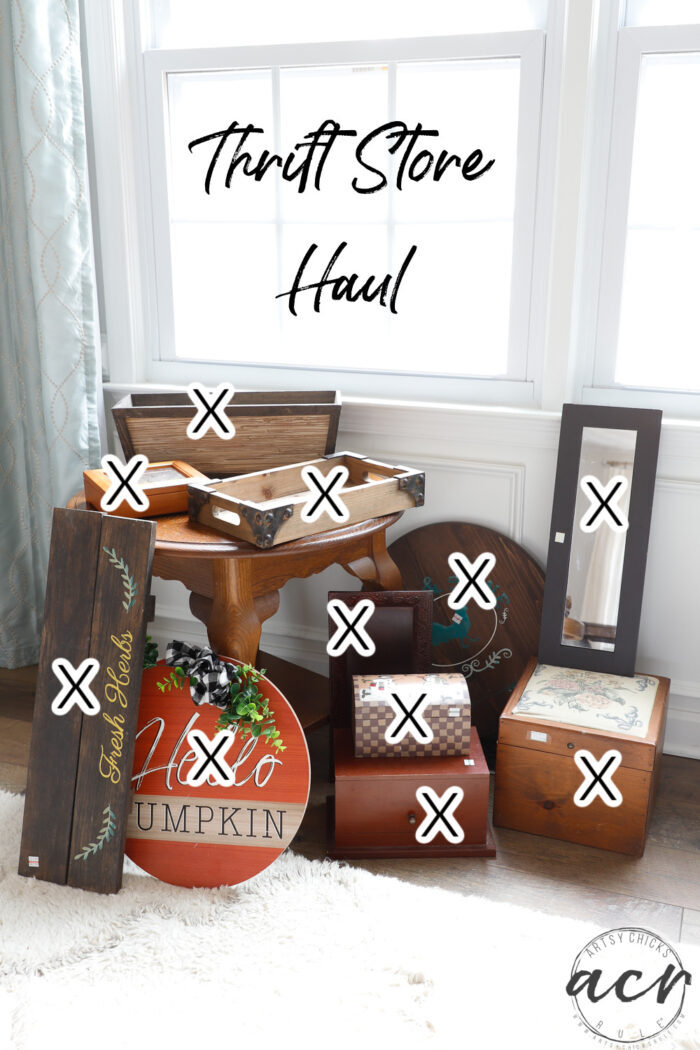
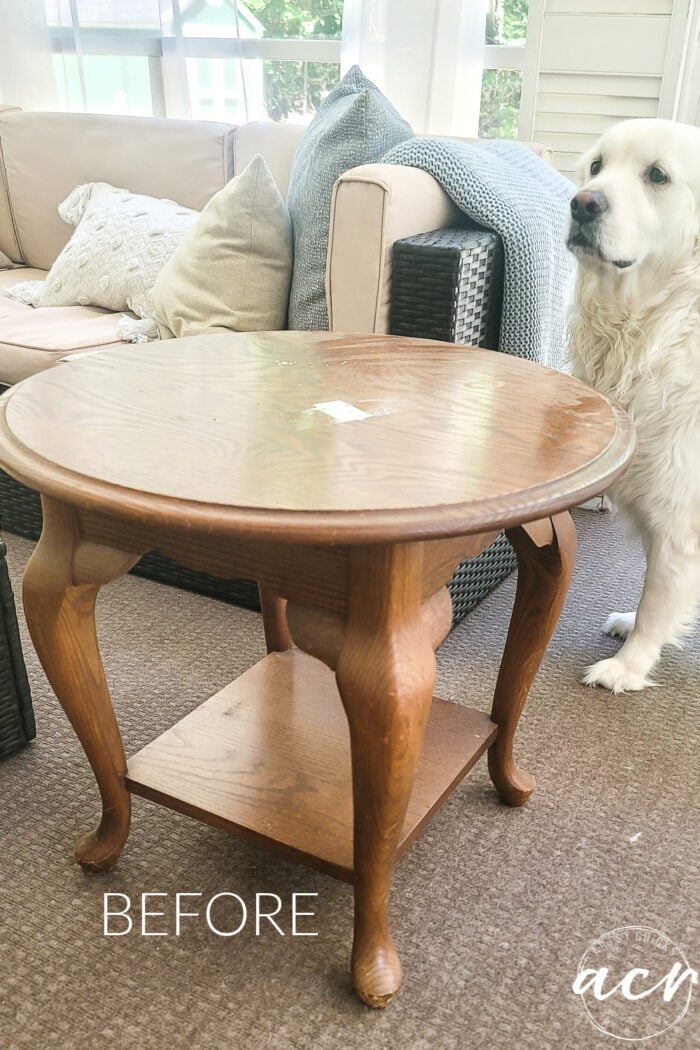
I’m sharing a single more from my modern haul…only a single still left! I’ll be sharing that a person on Tuesday with my “Trash to Treasure” pals then I can begin on this following bunch of goodies I shared before this week.
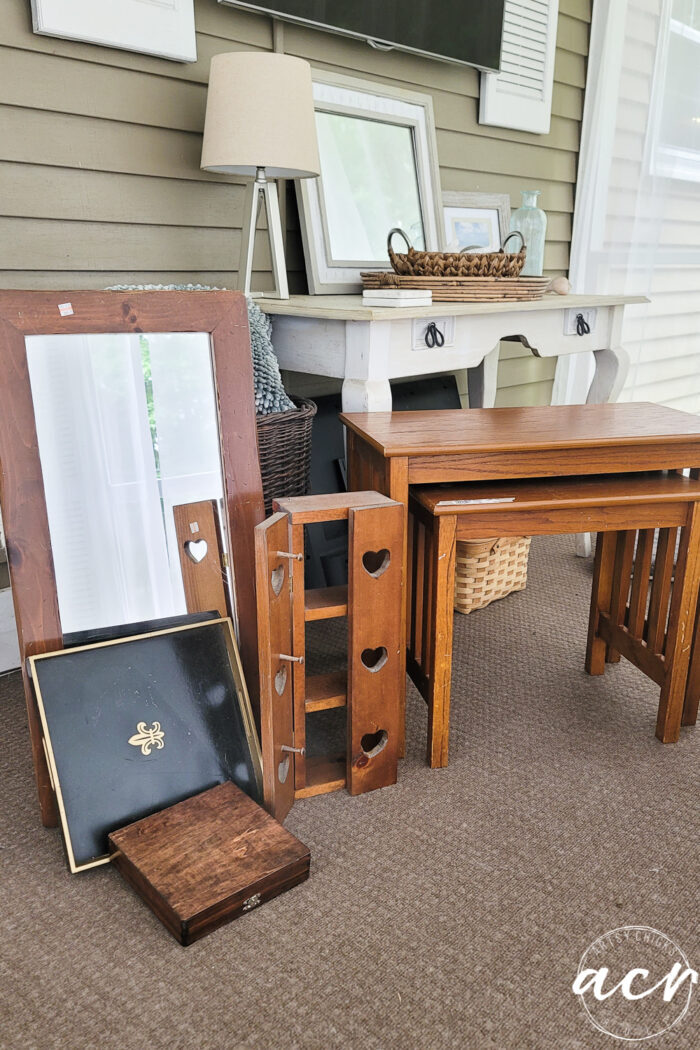
But prior to we get all energized about these pretties, let us revisit what I have gotten accomplished so far with this a person.
Missed any of the makeovers? You can see them proper listed here:
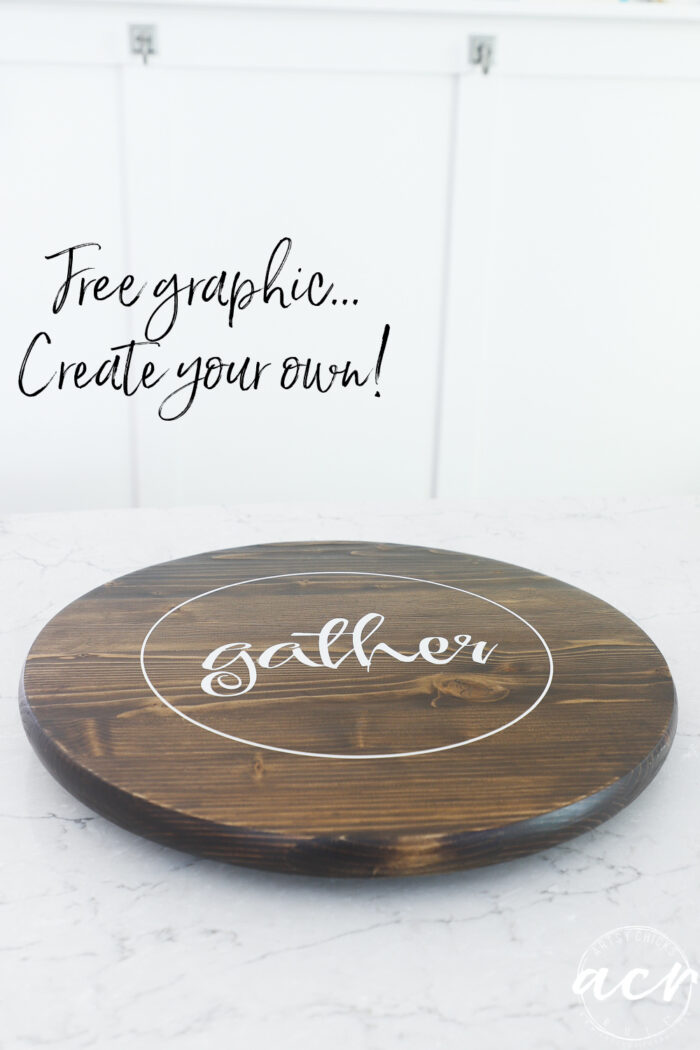
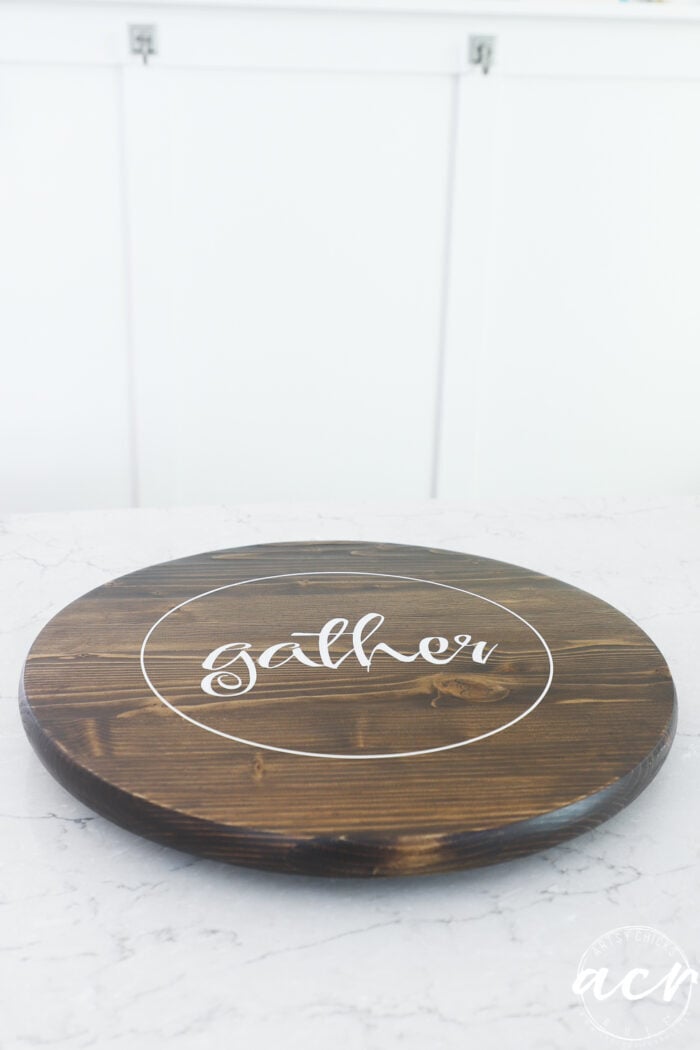
Today I’m sharing the lazy susan makeover.
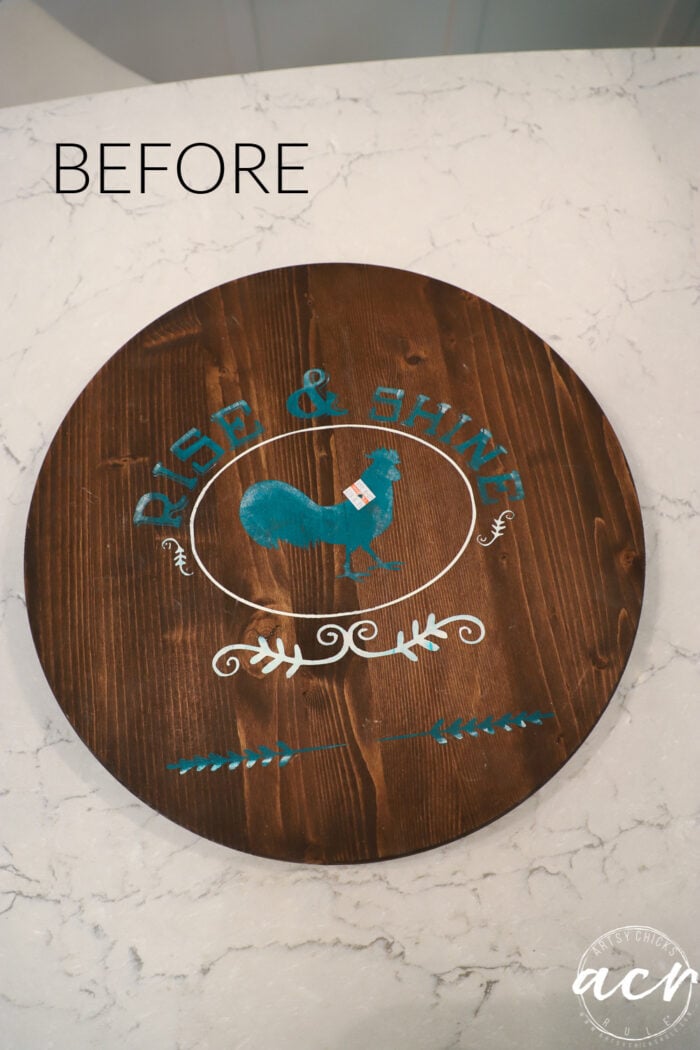
I started out out by eradicating the turntable on the base and then sanding the top rated.
I imagined I had taken a image of that but I can not see to discover a person. ??
But I sanded it down to the bare wooden thinking I’d change the colour. Then I sanded the sides.
Effectively, that darn stain did not want to budge from the sides and I’d experienced plenty of! haha
So I switched gears and determined to just stain it again dark. Nicely, not as dark as it was but equivalent.
I utilised one coat of the Cappuccino stain and allow it sit for numerous times.
Here’s the solutions I employed:
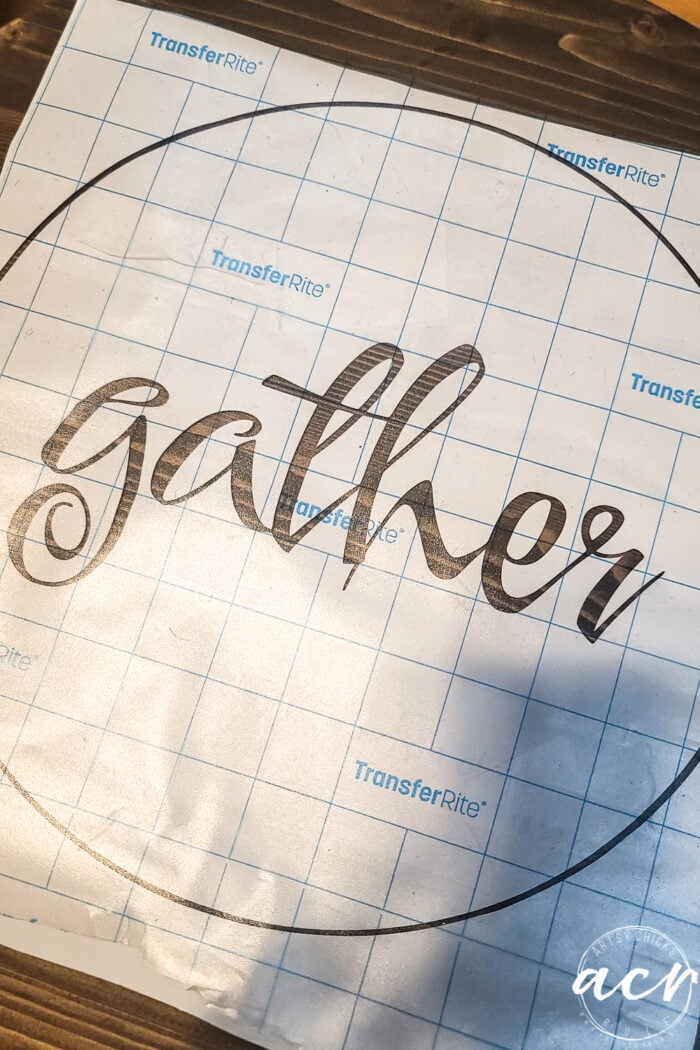
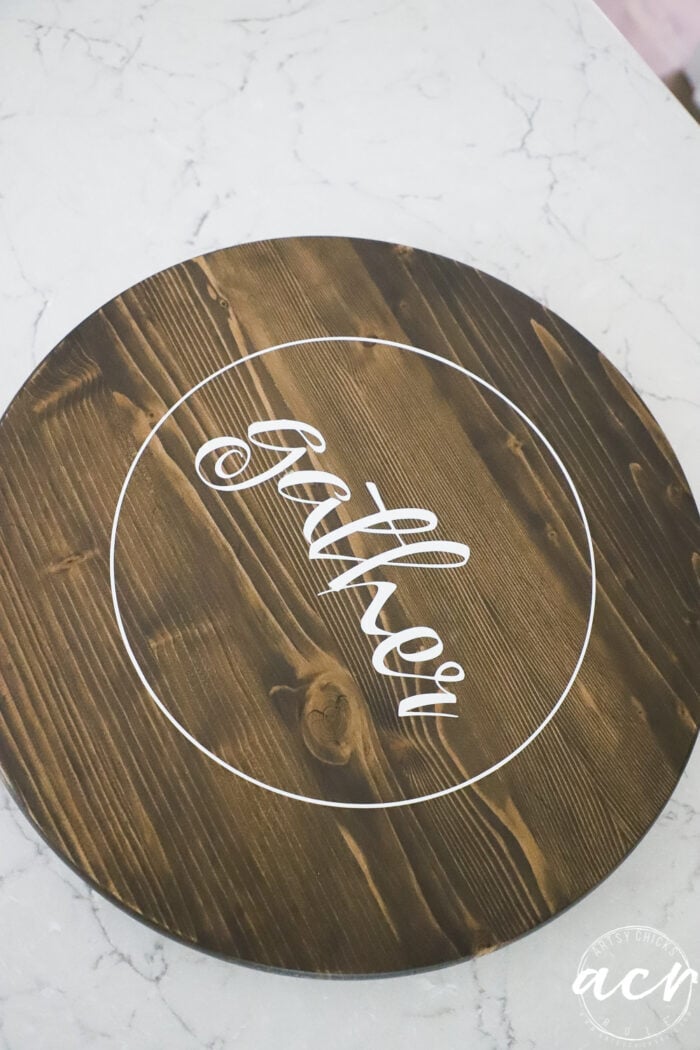
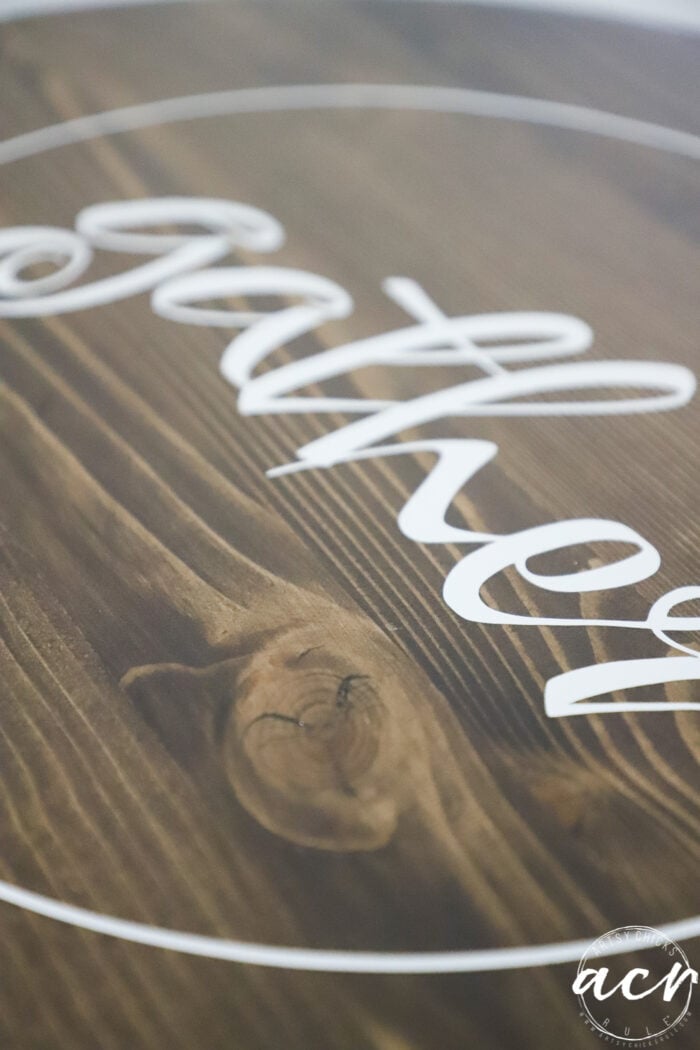
I produced this style and design to place on the lazy susan.

But for some purpose, I was having a bear of a time trying to get those compact letters to slice adequately. It may have been the font I applied, who is familiar with.
So I switched gears yet again! lol
And just did this one…


If you are presently a subscriber, you can click below, enter your password (it can be uncovered close to the best of all my e-mails to you), and down load this or any other graphic I’ve developed about the years. (about 100!)
If you aren’t yet a subscriber, you can simply click in this article or the pink box below to grow to be just one to gain accessibility.
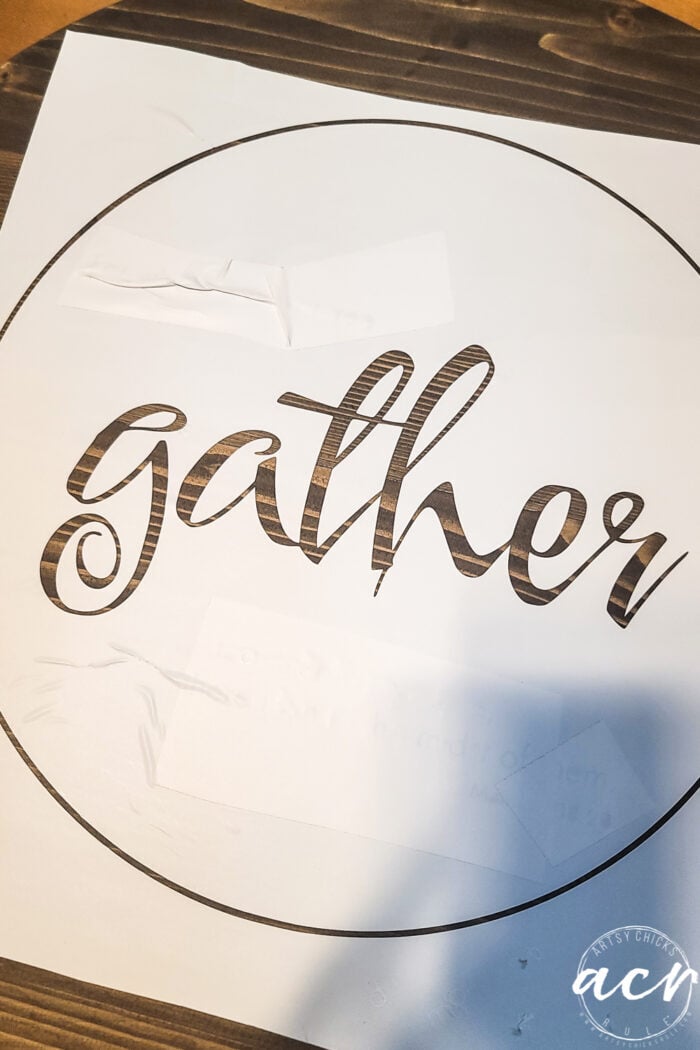
I pulled out the vinyl lettering to make a stencil with the vinyl. Then I connected the transfer tape so I could transfer it to the lazy susan.
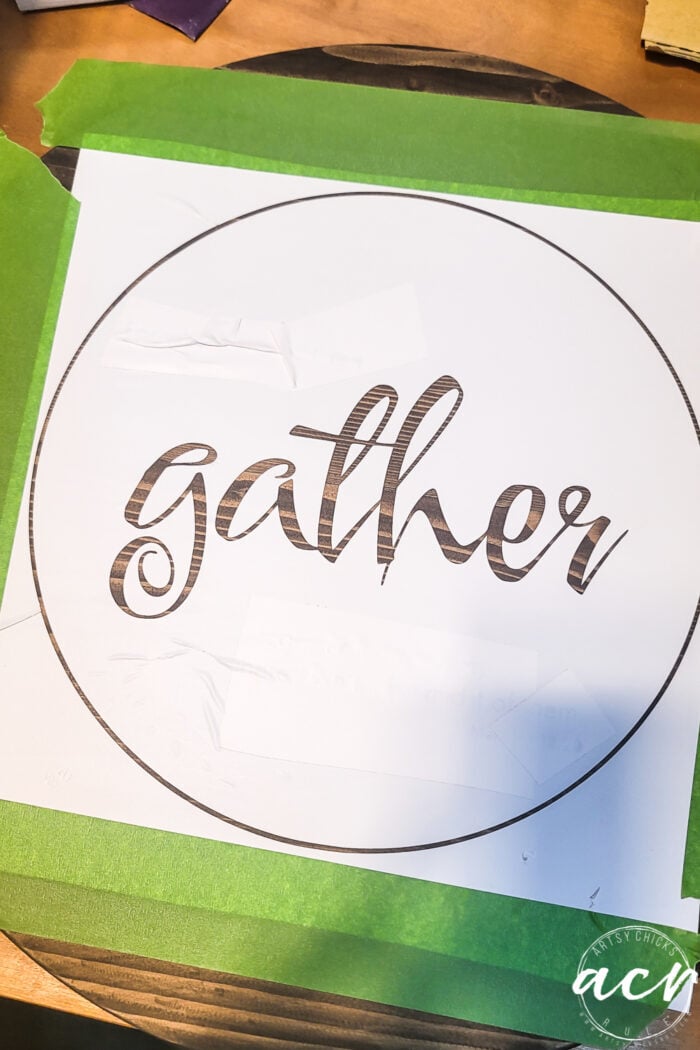
The moment the vinyl stencil was transferred to the lazy susan, I taken out the transfer tape.
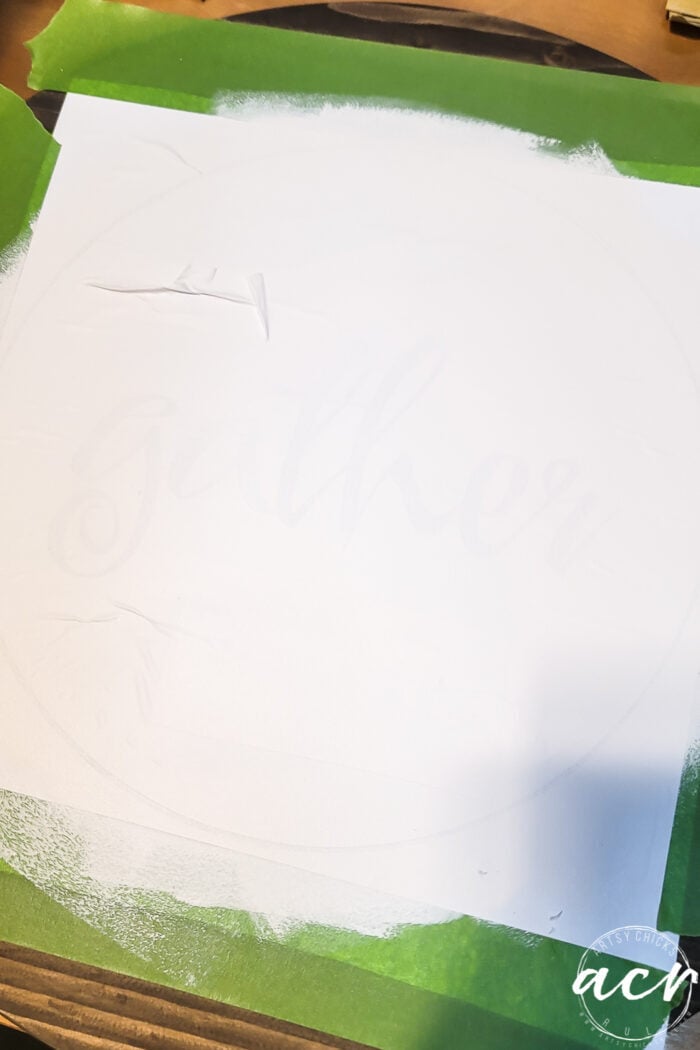
I taped up the sides so as not to get paint on the wooden when I rolled the stencil with paint.
I painted various coats, drying in amongst.
Then diligently removed the vinyl.
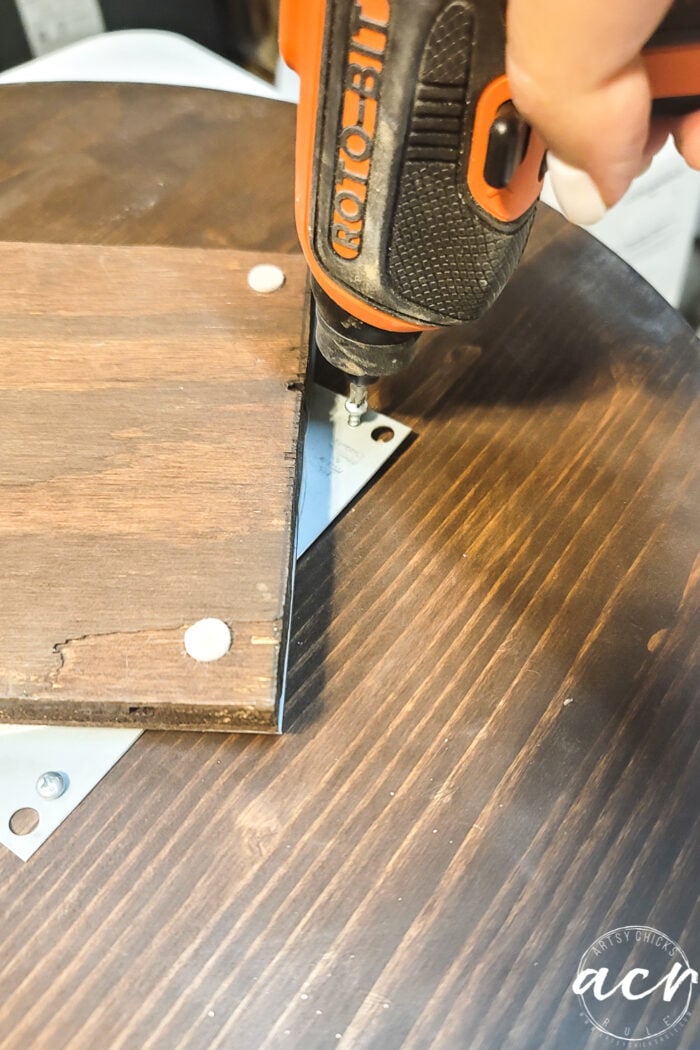
I applied 2 coats of Matte Challenging Coat (linked earlier mentioned) and when dry, reattached the lazy susan hardware to the bottom.
And accomplished!
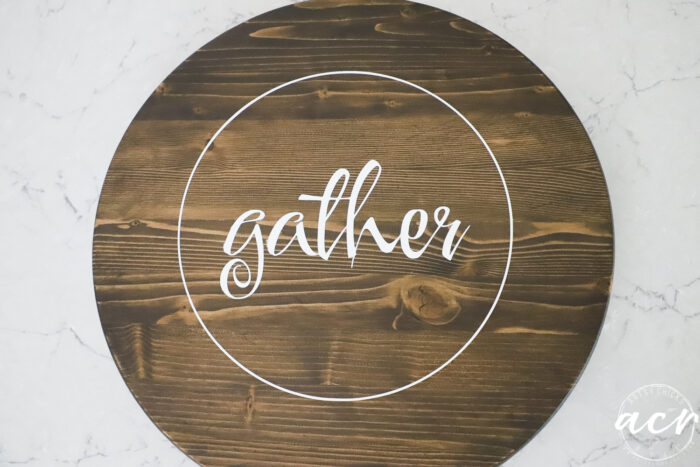
A lot much more to my liking, type-sensible.
Make it your individual!

I really like it now.
PIN it to preserve it for later!
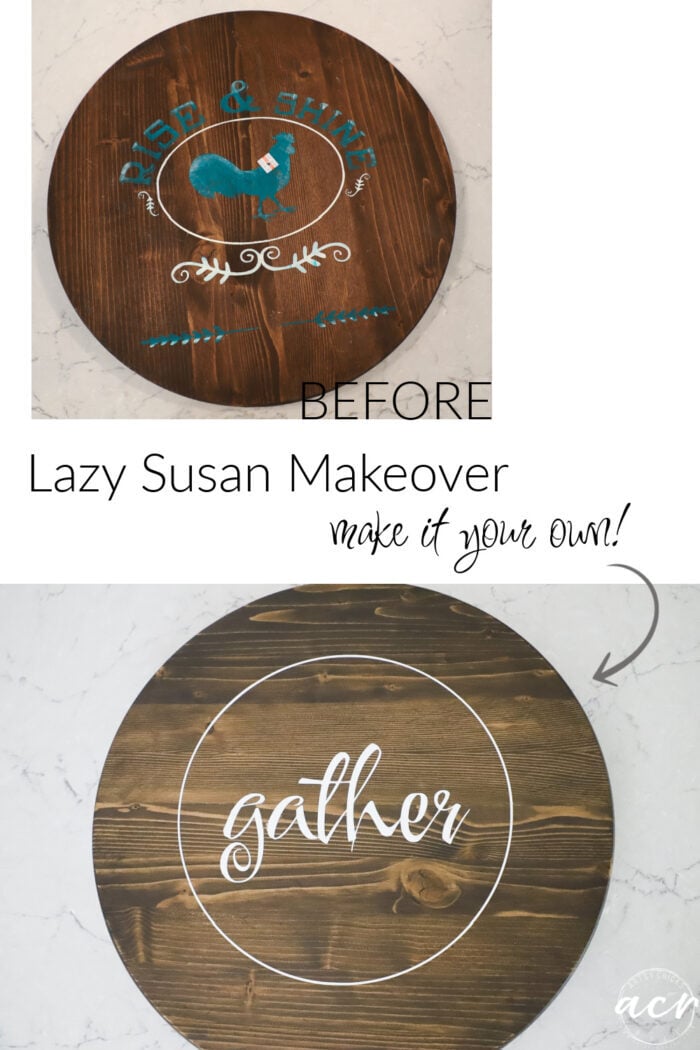
These a simple transform but just one that helps make it appear wholly diverse. Find outdated things at the thrift retailer and make them your individual!
I’ll see you upcoming 7 days with this one…
Have a beautiful weekend, my pals!
xoxo

Adhere to Alongside Here!
[ad_2]
Source connection