
[ad_1]
On this week’s show, we’re sharing some practical tips, plus some information on a new and trendy material for driveways.
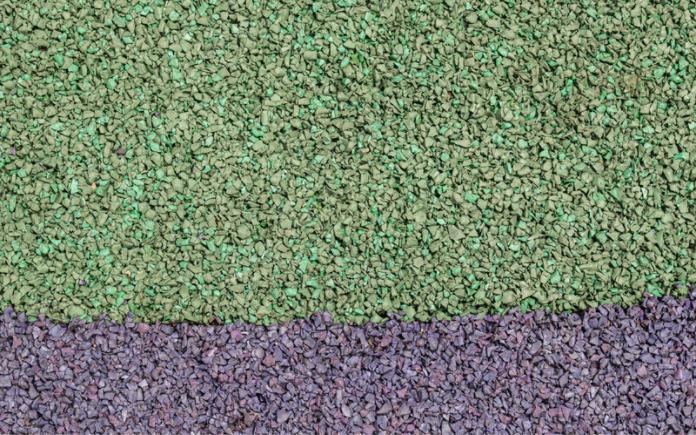
Considering a Rubber Driveway
There aren’t very many companies that install rubber driveways, but that could change in the near future. In the U.S. alone, 280 million tires are disposed of every year, and many people are searching for ways to recycle them.
Rubber driveways are durable, almost maintenance-free and slip-resistant. The average cost of poured-in-place rubber is about $7-15 per square foot, according to HomeAdvisor.com. For comparison, concrete is about $1-2 per square foot and asphalt is $2-5. Because of the recycled materials, rubber driveways lose color more quickly and require more frequent resurfacing. Consult with a contractor to see what options are available.
Skip to [1:05:41] for the full segment on the Today’s Homeowner Radio Show.
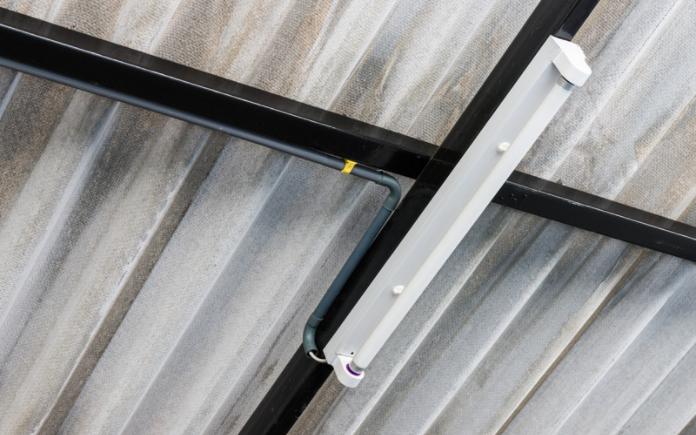
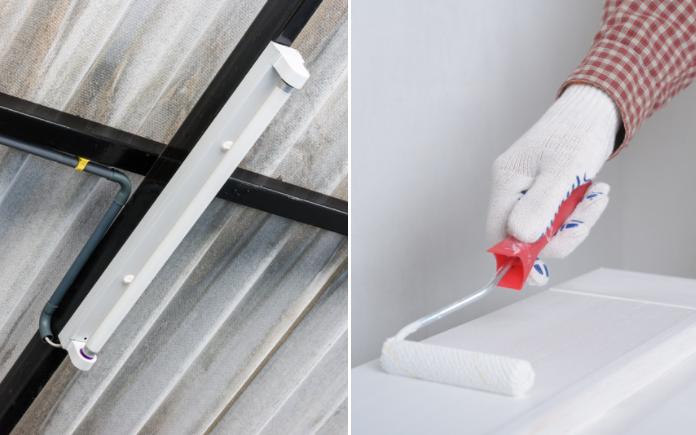
How to Test to See if a Fluorescent Bulb is Good
Even though LED lights are steadily replacing fluorescent bulbs, there are still millions of them out there.
To see if a fluorescent bulb is still good, use a multitester (also known as a multimeter or volt/ohmmeter). Rotate the tester’s knob over to the ohm setting, take the two probes on the end of the wire and touch them to the two probes on the end of the fluorescent bulb. Two ohms or higher means the bulb is still good.
If you see a black patch on the bulb’s filament, this means the bulb is no longer working.
Skip to [35:41] for the full segment on the Today’s Homeowner Radio Show.
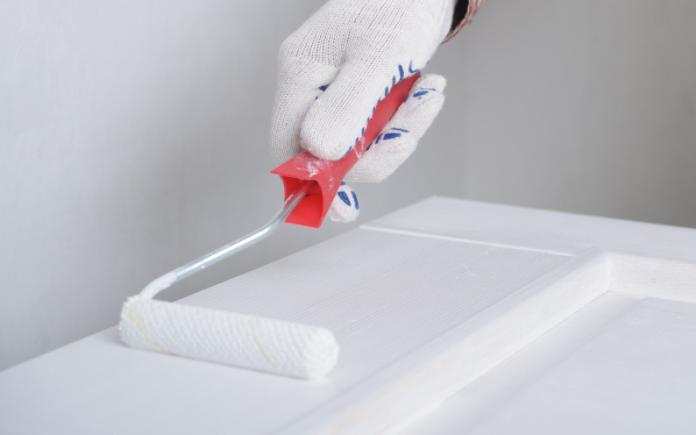
Tip for Painting Doors
Longtime listener Mark from Palatka, Fla., shares his tip for painting doors.
You need three three-inch screws. Screw one screw on the top of the door into the jamb about an inch and a half. Then on the bottom jamb, screw the two other screws near the outside edge, leaving about an inch and a half exposed.
Next, put the door on your sawhorses using the screws to lift it. Paint one side, grab the two outer screws, then rotate the door to paint the other side. You can do this on exterior or interior doors.
Skip to [26:29] for the full segment on the Today’s Homeowner Radio Show.

Save a Glove, Pinch a Penny
Because rubber gloves are so cheap, it’s easy to replace them. However, if you’re looking to pinch some pennies, here’s a tip to save a pair. Simply buy a tube of adhesive to patch the hole.
Turn the glove inside out, clean the area around the hole with rubbing alcohol, and wait for it to dry. Then spread the adhesive on and beyond the hole by about a half-inch. If that fails, you will need to replace the gloves.
Skip to [14:55] for the full segment on the Today’s Homeowner Radio Show.
Also on this episode:
- Best Base for a Plastic Shed
- Ways to Insulate a Cinderblock Garage
- Installing Laminate Flooring and Baseboards
- Get Granite Countertops with the Sticker Shock
 |
This Fast-Drying Paint is Scuff-Resistant and Stain Repelling. Learn more>> |
Other Products and Links Mentioned
Further Reading
Radio Show: Send us your question!
If you have a comment, general question about home improvement, or something we’ve featured on Today’s Homeowner, please fill in this form:
[ad_2]
Source link