Smart Lighting Installation: A Complete Guide in today’s world, smart homes are no longer a distant concept—they’re becoming the norm. Among the most sought-after technologies in the smart home revolution is smart lighting installation. Whether you’re upgrading your current home setup or designing a new space, integrating smart lighting can elevate your environment, improve energy efficiency, and offer unparalleled convenience. But how does one go about setting up a smart lighting system? This guide will walk you through the essential steps of smart lighting installation, tips, and considerations to help you create the perfect ambiance and control right at your fingertips.
What is Smart Lighting?
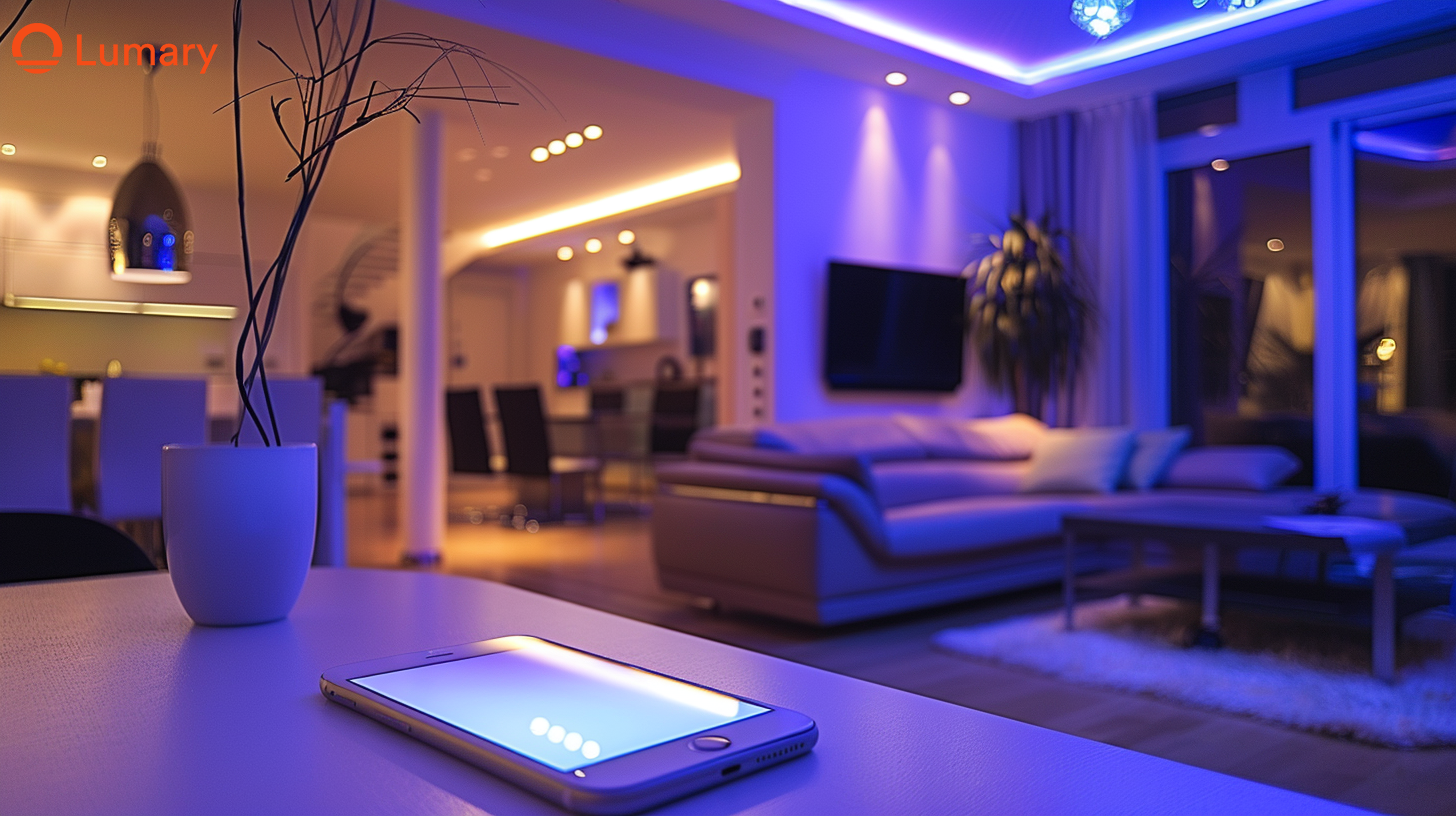
Smart lighting refers to lighting systems that offer more than just the standard on/off functionality. With smart lighting, you can control the brightness, color temperature, and even the color of your lights. The best part? This control can be done remotely, either through smartphone apps, voice assistants like Alexa or Google Assistant, or via automated routines.
There are various types of smart lighting products on the market, including smart bulbs, light strips, dimmer switches, and even complete smart light fixtures. These products can be integrated into your home in different ways, depending on your needs and the level of control you want.
Why Choose Smart Lighting?
Before diving into the details of smart lighting installation, let’s briefly review why smart lighting has gained so much popularity:
Energy Efficiency
One of the most significant benefits of smart lighting is its ability to conserve energy. Smart bulbs often use LEDs, which are more energy-efficient than traditional incandescent bulbs. Additionally, many smart systems offer dimming features and motion sensors that ensure lights are only on when needed.
Convenience and Control
Smart lighting offers unprecedented control over your home’s lighting. You can adjust the lighting from anywhere, whether you’re at home, at work, or on vacation. This remote control adds convenience to daily life, allowing you to turn lights on or off, change colors, and create different moods at the touch of a button.
Ambiance Creation
With the ability to change the color and brightness of your lights, you can tailor the ambiance of any room to fit the moment. Whether you want bright, white light for work or soft, warm lighting for a cozy evening, smart lighting allows you to adjust your environment to suit your needs.
Security
Smart lighting also enhances home security. With scheduling features, you can set your lights to turn on and off at specific times, simulating your presence when you’re not home. Additionally, some systems offer motion sensors, triggering lights when movement is detected, which can deter intruders.
Prepping for Smart Lighting Installation
Before you get started with smart lighting installation, there are a few things to consider. Proper planning will ensure your system is set up efficiently and delivers the desired results.
1. Determine Your Needs
The first step in smart lighting installation is to determine what kind of lighting system you want to create. Are you looking to upgrade the entire home with smart bulbs, or do you want a more specific installation, like adding smart lighting to your kitchen or living room? You’ll also need to decide if you want to focus on general lighting, accent lighting, or both.
Take time to assess the rooms you want to upgrade and how you plan to use the lighting. For instance, ambient lighting in the living room might require different settings than task lighting in the kitchen.
2. Choose the Right Products
Once you’ve determined your needs, you can start selecting the products that will best fit your space. Key products to consider include:
- Smart Bulbs: These are the most common smart lighting products, offering features such as dimming, color changing, and remote control.
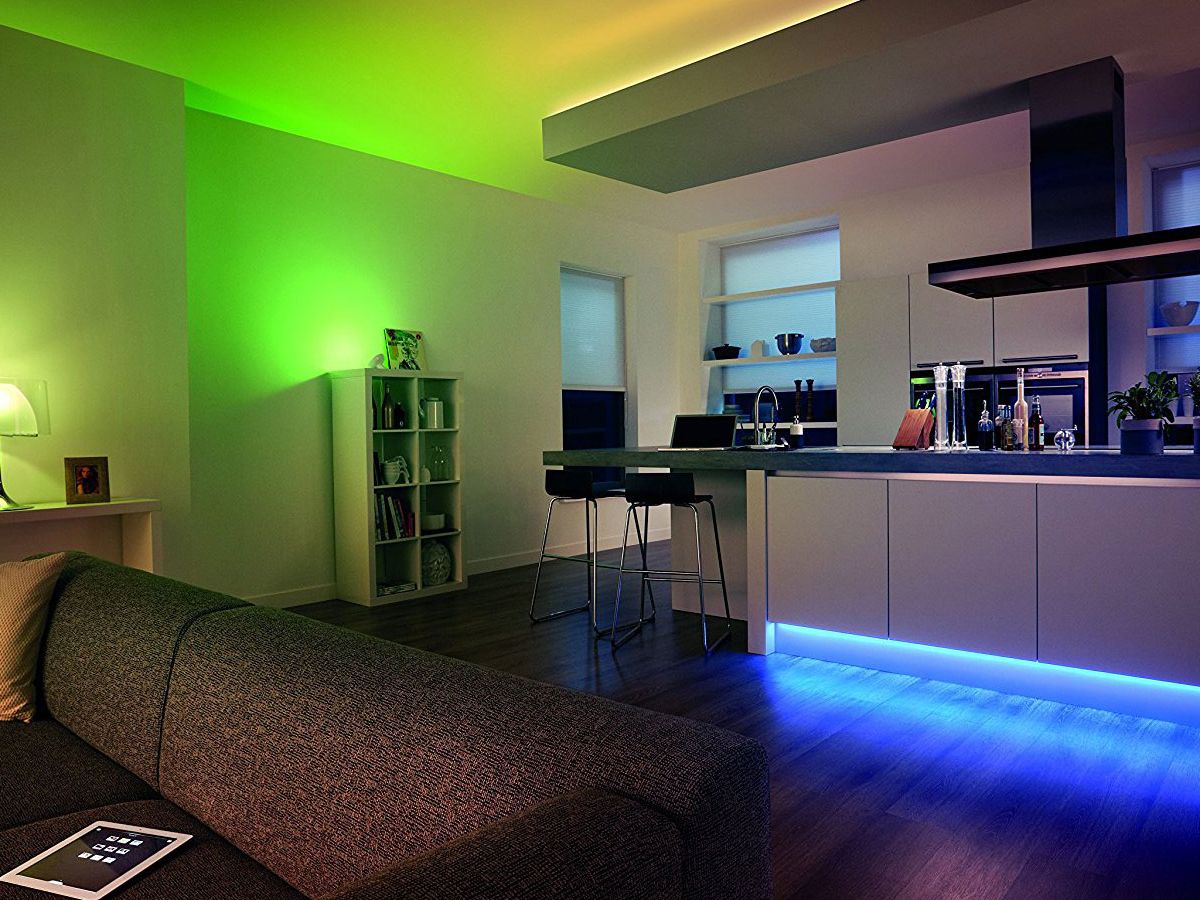
- Smart Light Strips: Perfect for adding accent lighting to areas like countertops, shelves, or along walls.
- Smart Plugs and Switches: These allow you to make non-smart lamps and lights “smart” by plugging them into smart outlets or replacing existing switches.
- Smart Ceiling Fixtures: If you want a complete lighting overhaul, consider smart ceiling fixtures, chandeliers, or pendant lights.
You’ll also want to think about compatibility with voice assistants like Alexa, Google Assistant, or Apple HomeKit, as well as integration with your existing smart home system, if applicable.
3. Check Your Wi-Fi
Smart lighting systems typically rely on Wi-Fi to communicate with your devices. Therefore, before beginning the smart lighting installation process, check your Wi-Fi strength and ensure that the router’s range is sufficient to cover the areas where you’ll install your smart lights.
If your Wi-Fi signal is weak in certain areas of the house, consider using Wi-Fi extenders or a mesh Wi-Fi system to ensure reliable connectivity.
4. Gather Your Tools
You’ll need a few basic tools for smart lighting installation, depending on the products you’re installing. These might include:
- A smartphone or tablet for downloading apps
- A screwdriver for replacing existing light switches
- A ladder for reaching high ceilings or light fixtures
- A drill, if you’re installing light fixtures or mounting strips
Having everything you need on hand will make the process smoother.
Step-by-Step Smart Lighting Installation
Now that you’ve prepared, it’s time to dive into the installation process. The exact steps will vary depending on the specific products you’re installing, but the following guide will walk you through the general process.
1. Install the Smart Bulbs
Smart bulbs are often the easiest to install, and they can replace your existing bulbs without any need for electrical work.
- Turn Off the Power: Before starting, ensure the power to the light fixtures is turned off.
- Screw in the Smart Bulb: Simply screw the smart bulb into the light fixture just like you would with a regular bulb.
- Turn on the Power: Once the bulb is in place, turn the power back on.
- Download the App: Download the corresponding app for your smart bulb (e.g., Philips Hue, LIFX, etc.) from the app store.
- Connect the Bulb: Follow the app’s instructions to connect the bulb to your Wi-Fi network. You may need to create an account or log in.
- Test the Light: After setup, test the light by adjusting the brightness or changing the color to ensure it’s working correctly.
2. Install Smart Light Strips
Smart light strips can be used to highlight specific areas of a room, such as underneath cabinets or along a wall. Here’s how to install them:
- Clean the Surface: Before attaching the light strip, clean the surface where it will be placed to ensure proper adhesion.
- Apply the Light Strip: Peel off the adhesive backing from the light strip and press it firmly into place.
- Connect to Power: Plug the light strip into a nearby outlet.
- Sync with the App: Just like with smart bulbs, you’ll need to download the app for your smart light strip and follow the pairing process to connect it to your Wi-Fi.
- Adjust and Test: Once connected, you can use the app to adjust the light’s brightness and color. Test the strip’s performance by controlling it remotely.
3. Install Smart Light Switches
If you’re replacing a traditional light switch with a smart one, this step will require a bit more technical work.
- Turn Off the Power: Before removing the old switch, turn off the circuit breaker that powers the light.
- Remove the Old Switch: Use a screwdriver to remove the existing light switch and disconnect the wires.
- Install the Smart Switch: Connect the wires to the corresponding terminals on the new smart switch.
- Secure the Switch: Once the wires are connected, secure the switch to the wall with screws.
- Turn on the Power: After securing the switch, turn the power back on and test the new smart switch to ensure it works as expected.
- Pair the Switch with the App: Download the app for your smart switch and follow the instructions to connect it to your Wi-Fi network.
4. Set Up Smart Lighting Automations
One of the biggest advantages of smart lighting installation is the ability to set up automations. Automations allow your lights to turn on or off at specific times, adjust based on your activity, or even respond to environmental changes.
- Set Schedules: Use the app to schedule your lights to turn on and off at certain times each day. This is especially useful for creating a routine or ensuring lights are off when you’re not home.
- Create Scenes: Many smart lighting apps allow you to create “scenes” where you can set multiple lights to specific settings with one tap. For instance, you might create a “Movie Night” scene where all the lights dim and turn a soft blue.
- Use Motion Sensors: If your system supports it, you can set up motion sensors to activate lights when someone enters a room, providing added convenience and security.
5. Test and Fine-Tune Your System
Once everything is installed, take time to test and fine-tune your system. Adjust the brightness, set different scenes, and ensure that your lights are functioning properly. This is also the time to explore any additional features, such as voice control or integration with other smart devices in your home.
Troubleshooting Common Issues
While smart lighting installation is generally straightforward, you may run into a few issues along the way. Here are some common problems and how to resolve them:
1. Connectivity Issues
If your lights aren’t connecting to your Wi-Fi, ensure that the router is within range and that the network is stable. You can also try resetting the smart bulb or light switch and attempting the connection process again.
2. App Malfunctions
If the app isn’t working properly, ensure it is up to date. You can also try uninstalling and reinstalling the app or restarting your smartphone.
3. Compatibility Problems
Make sure that your smart lights are compatible with your voice assistant or smart home hub. If not, you may need to choose a different product or get a compatible hub.
Smart lighting installation is a
fantastic way to bring efficiency, convenience, and style to your home. With the right products and a little preparation, you can easily set up a lighting system that fits your needs. Whether you’re looking to brighten a room, improve energy efficiency, or enhance your home’s security, smart lighting offers endless possibilities. With the tips and steps provided in this guide, you’ll be well on your way to creating the perfect lighting environment for your smart home.


