
[ad_1]
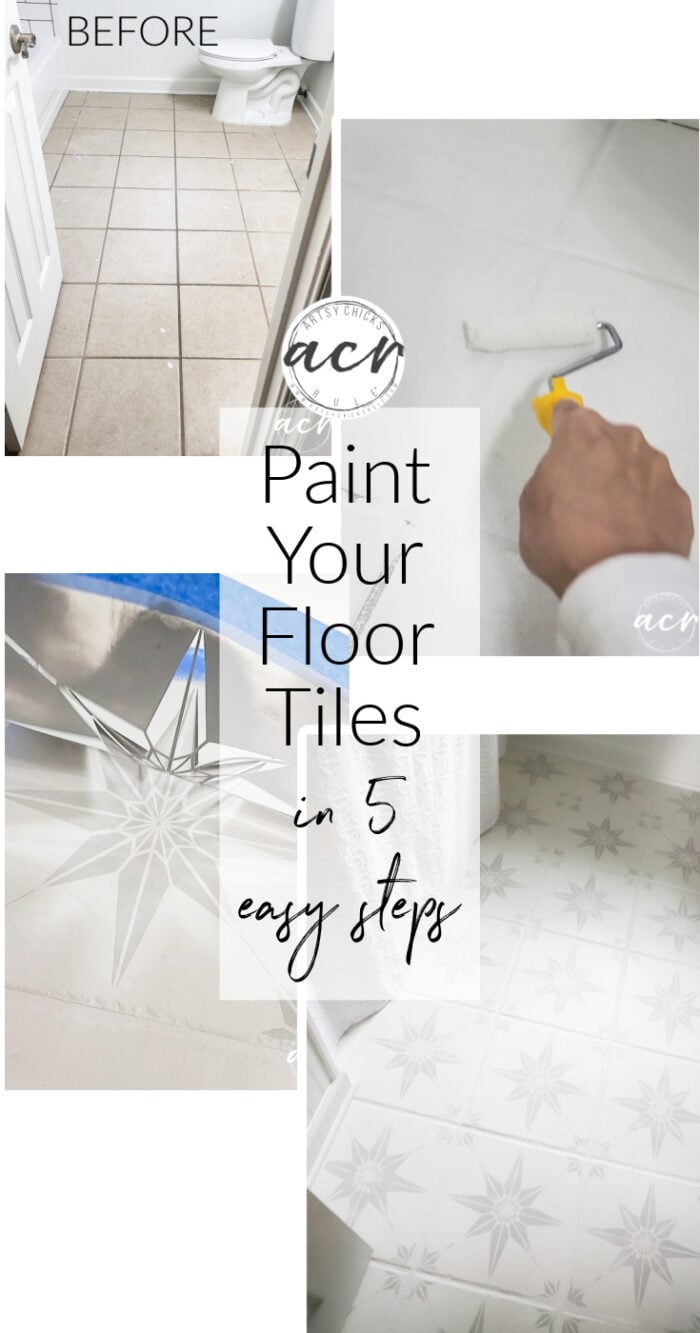
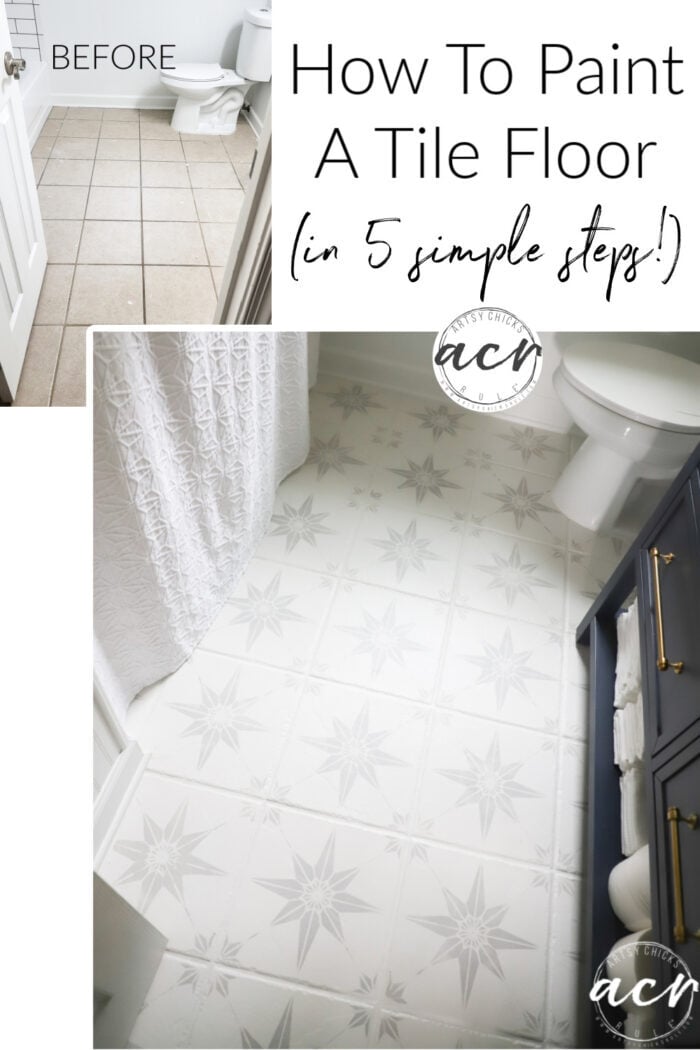
How to paint a tile floor in 5 simple steps!! Easier than you think!
Hey friends!! Let’s talk tile.
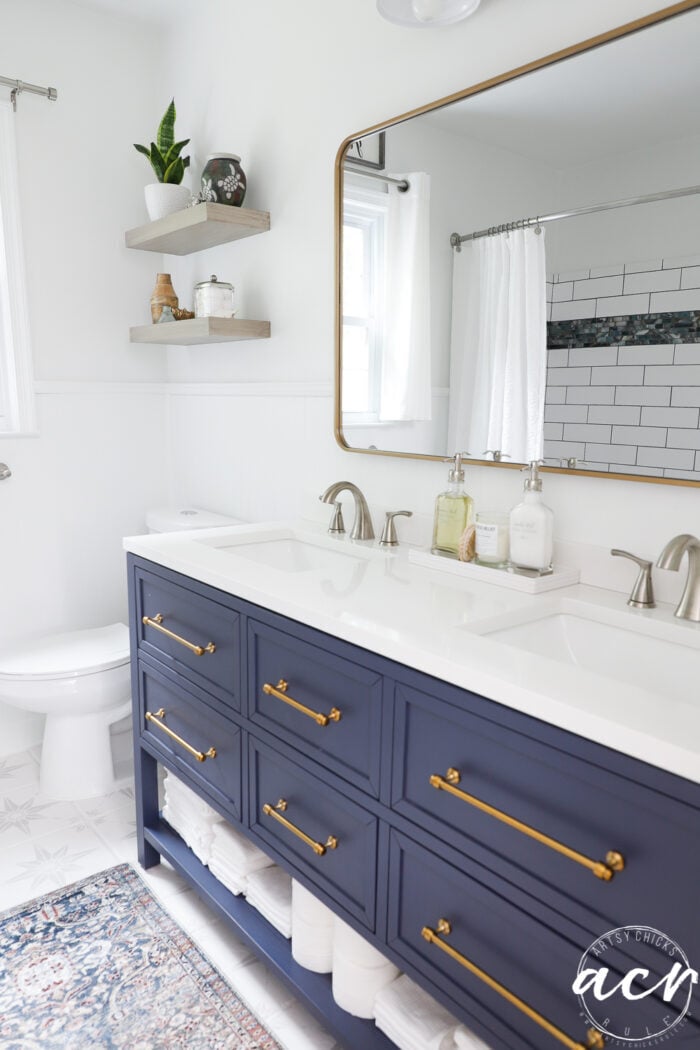
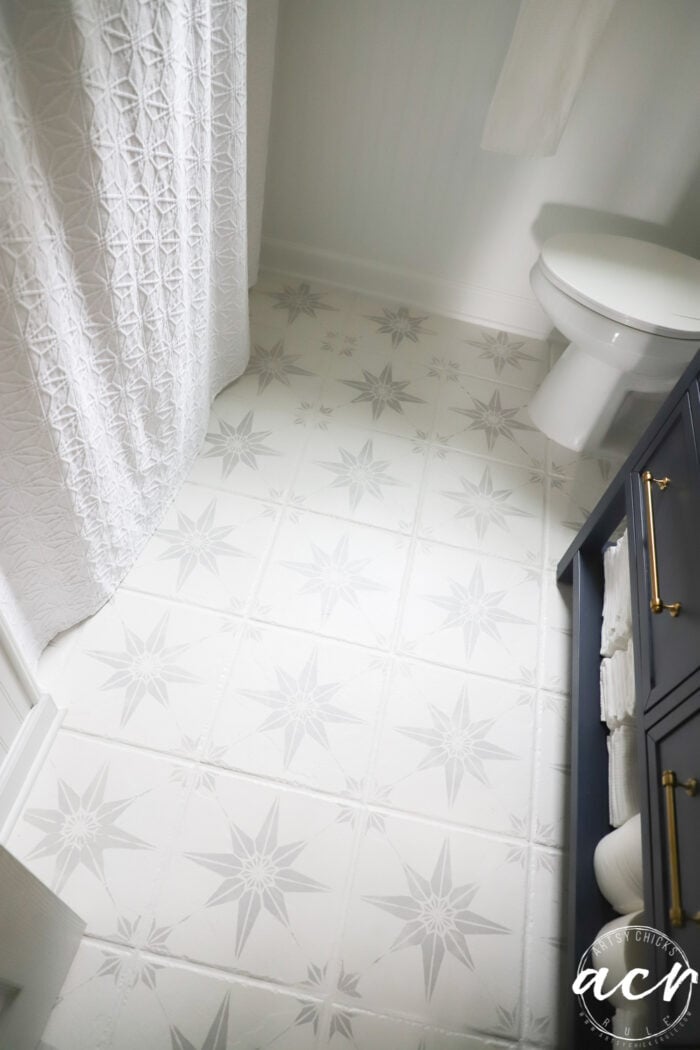
Last week I shared our hall bathroom remodel reveal. We are so thrilled with how it turned out AND just the plain fact that we are DONE!!
I mentioned in that post that I had painted our floor tiles. Say what?
Yep, I sure did!! lol
They turned out amazing!! I don’t even have any doubts that they will hold up well either. But time will tell, right?
And you know I’ll be reporting back on that in the future.
How To Paint A Tile Floor
So how did I do it?
Was it hard?
Well, the answer to the second question is surprising, no, not in the least bit. Definitely a home DIY project anyone can do.
I will tell you that I believe in good prep and good products, however.
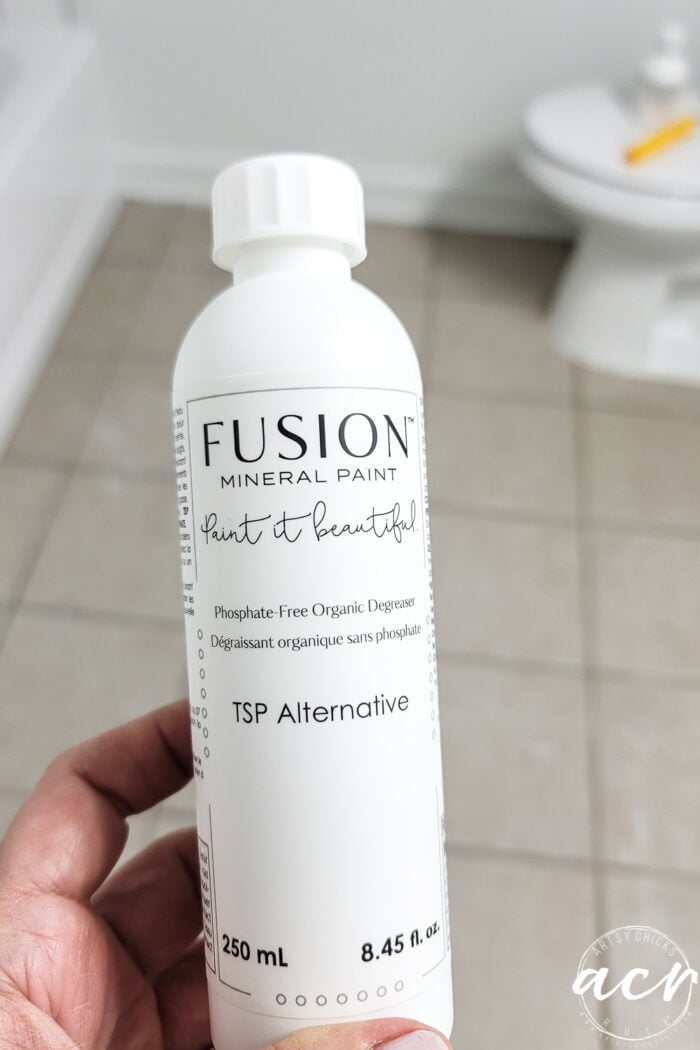
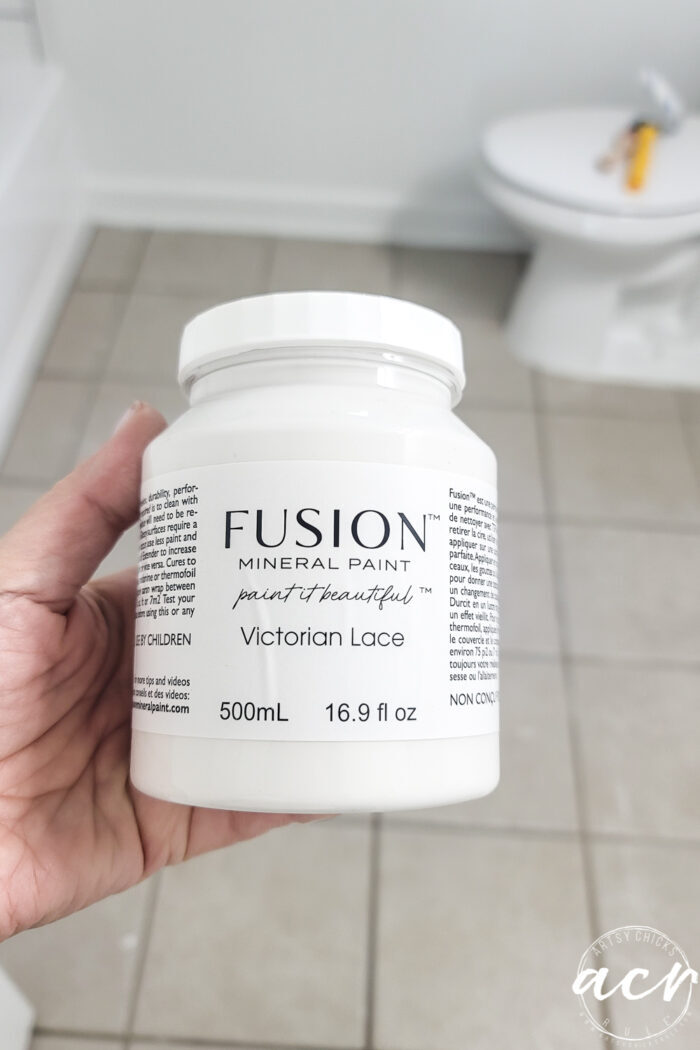
Here are the products I used to paint the ceramic tiles:
Step 1
Clean the floor very well.
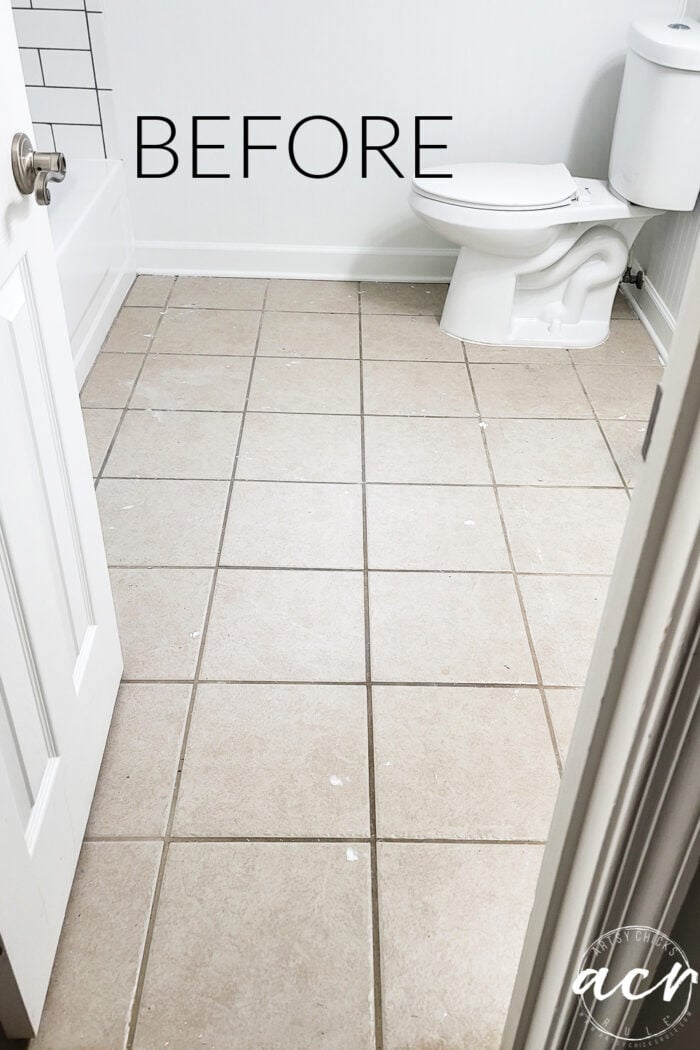
I used TSP Alternative and it worked well.
Step 2
Next, and once it is dry, apply the Ultra Grip with a Microfiber Roller.
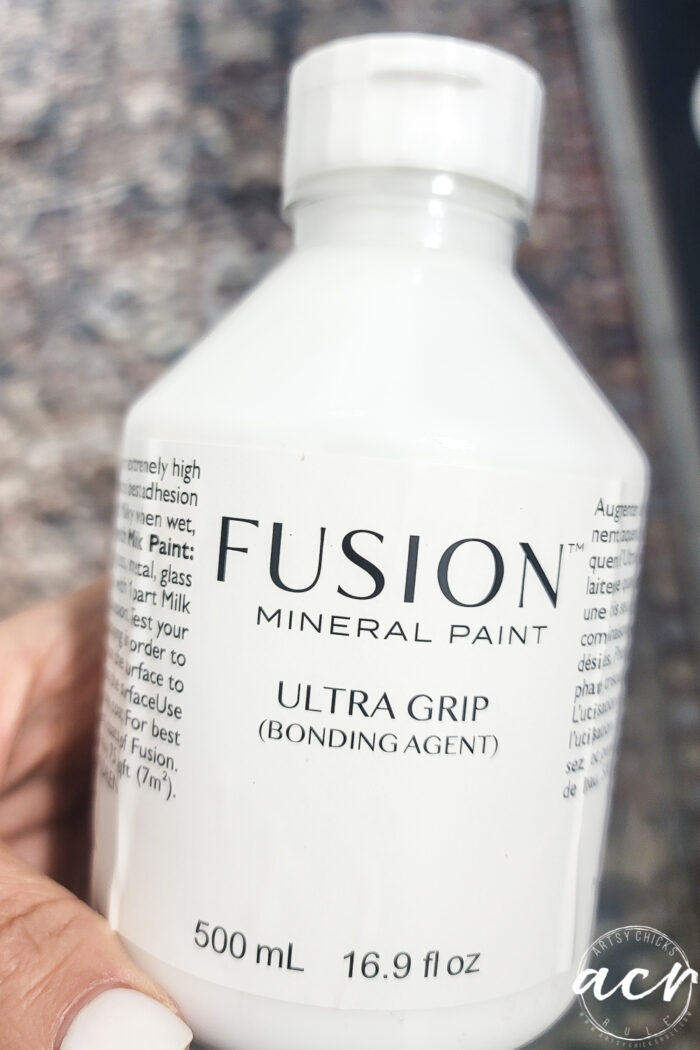
Let the Ultra Grip dry overnight. Then begin painting.
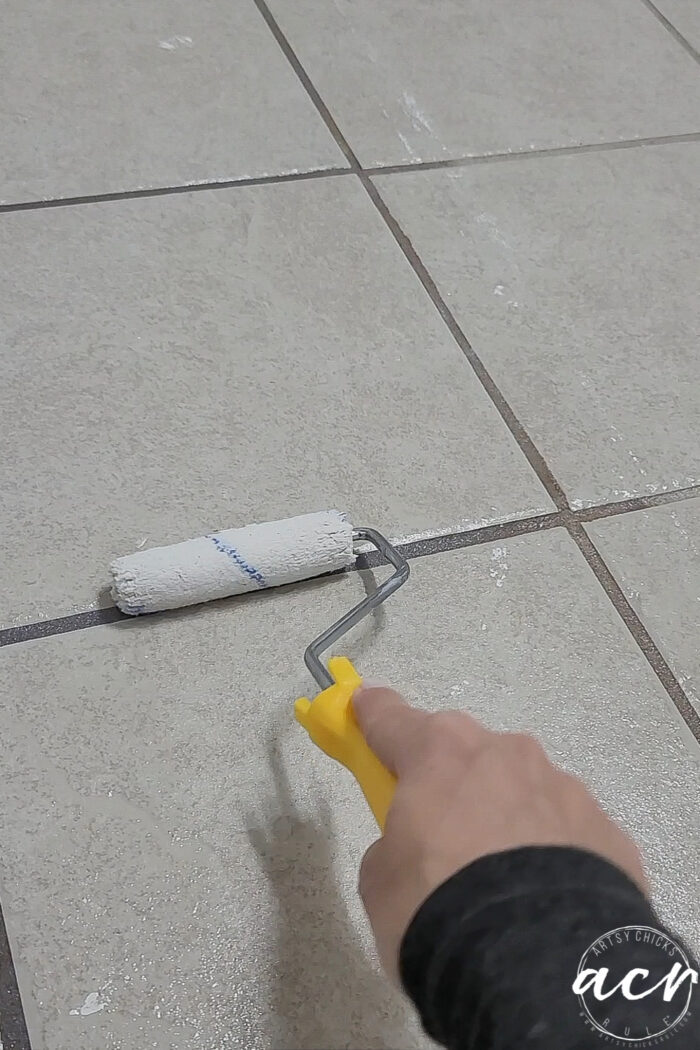
Step 3
Let’s paint the floor! Grout and all.
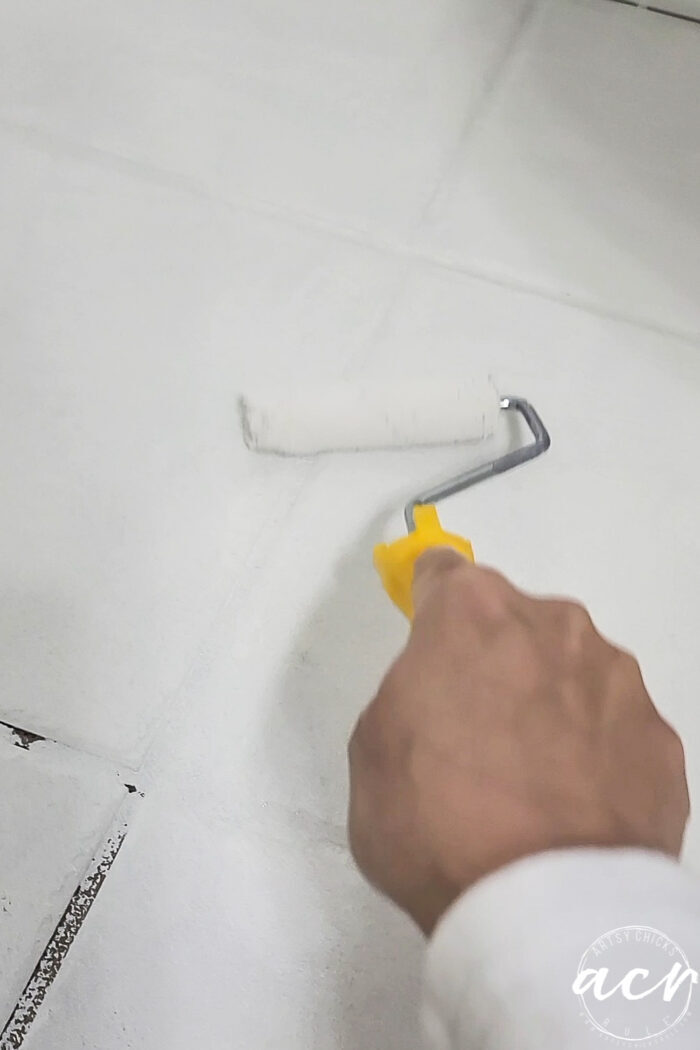
I used the Microfiber Roller for this as well. It leaves a very smooth finish…love these rollers!
I applied 2 coats of paint, drying overnight in between.
Step 4
Stencil time.
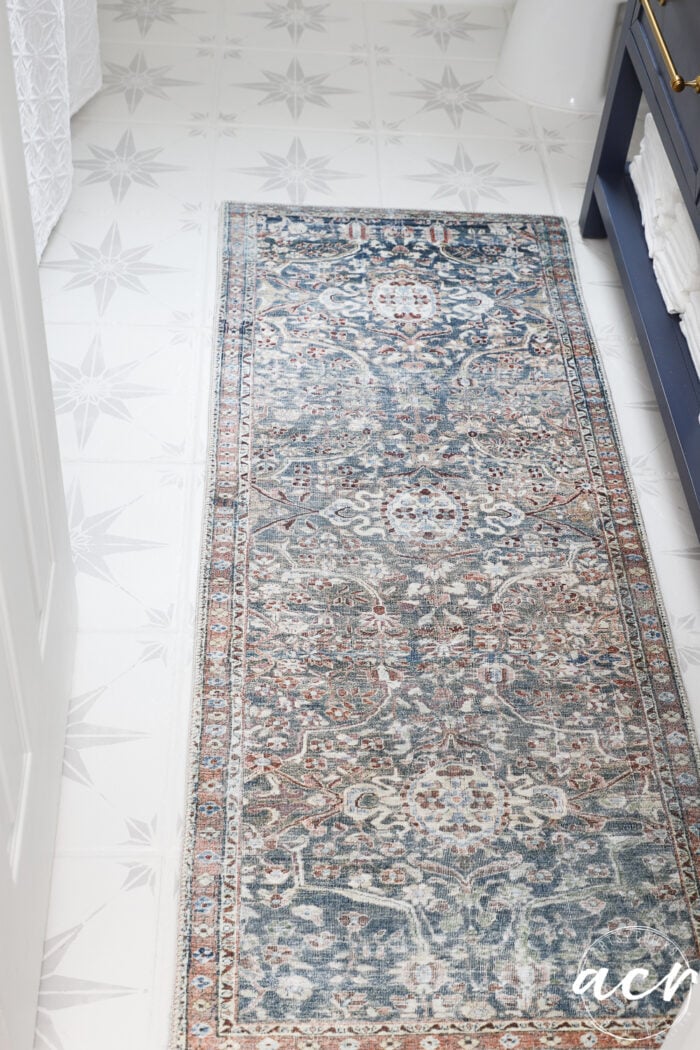
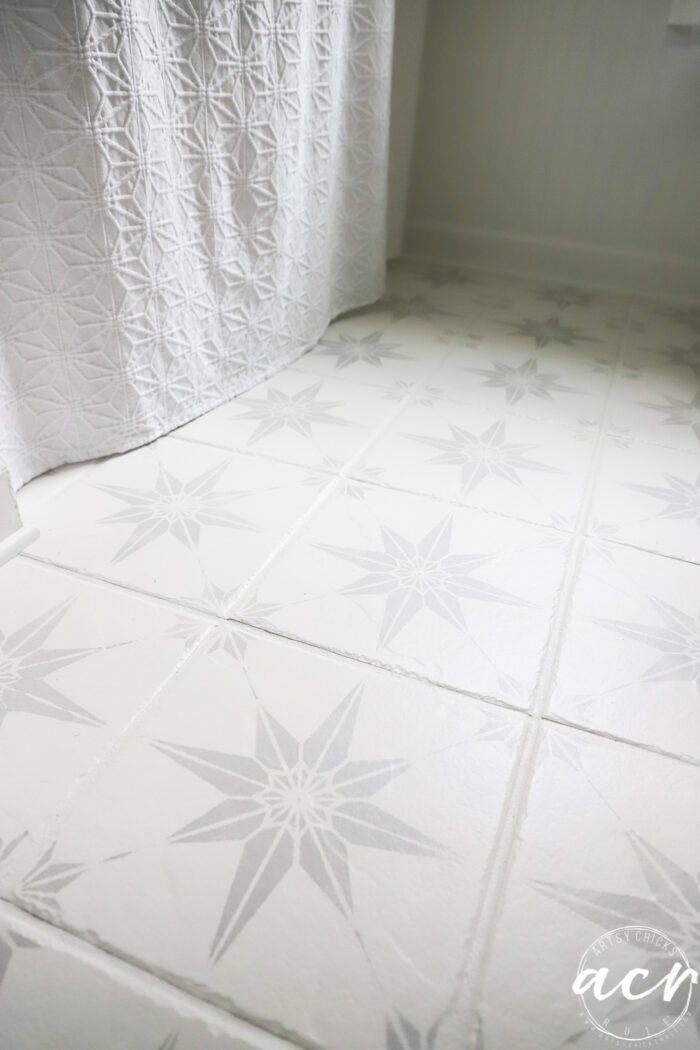
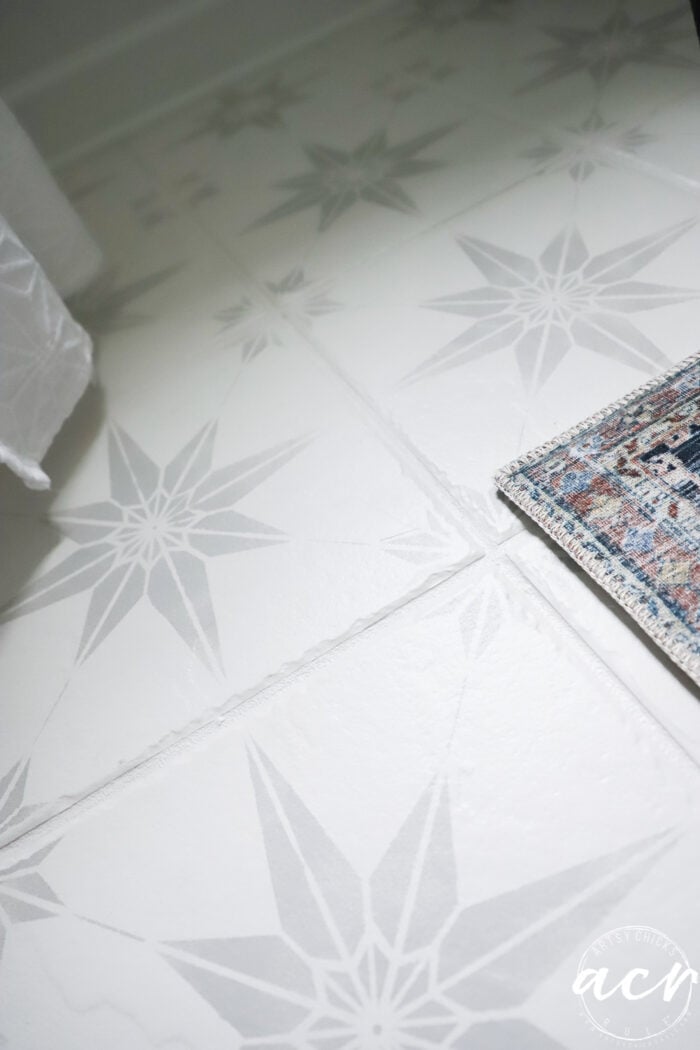
I mixed up a very pale gray because I didn’t want the floor to be the main focus of the bathroom. I wanted it to be more muted in the background so made the stencil a little more subtle with a lighter color.
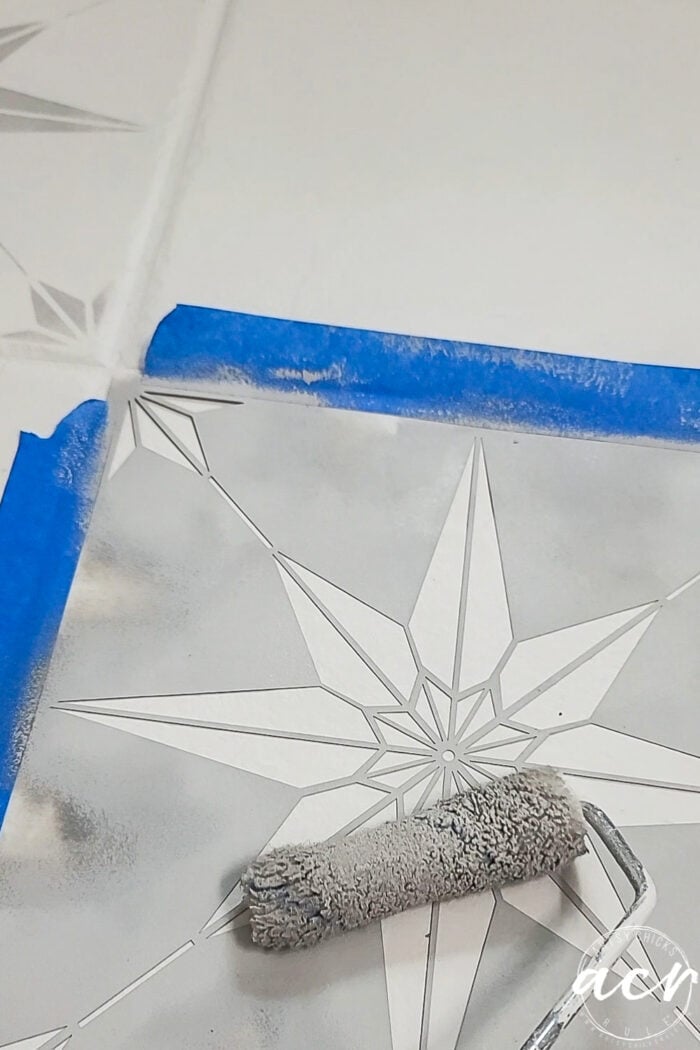
You don’t need or want a lot of paint on the roller for this part. I rolled it in paint and then used a plain paper plate to roll of the excess before each application.
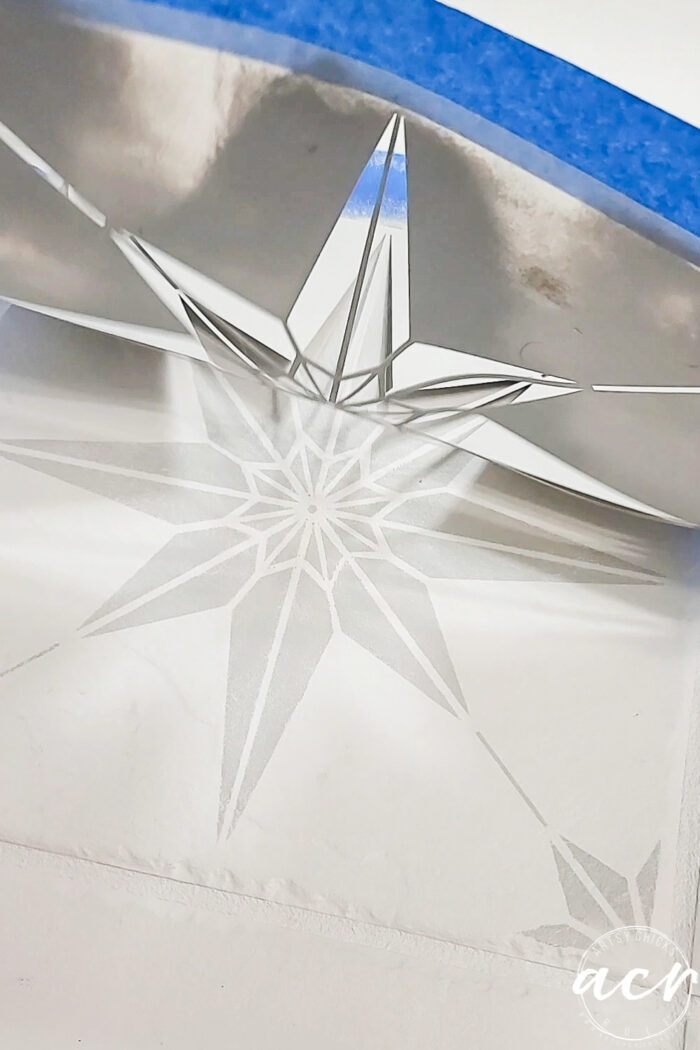
You are not necessarily going for perfection here or full coverage in every single spot. It’s okay, in my opinion, for each one to have its own unique look.
Meaning, a feathered edge here or there, etc. It gives it character and also doesn’t make it look painted.
When painting the tiles, you’ll want to stagger them so as not to mess up any that are not dry.
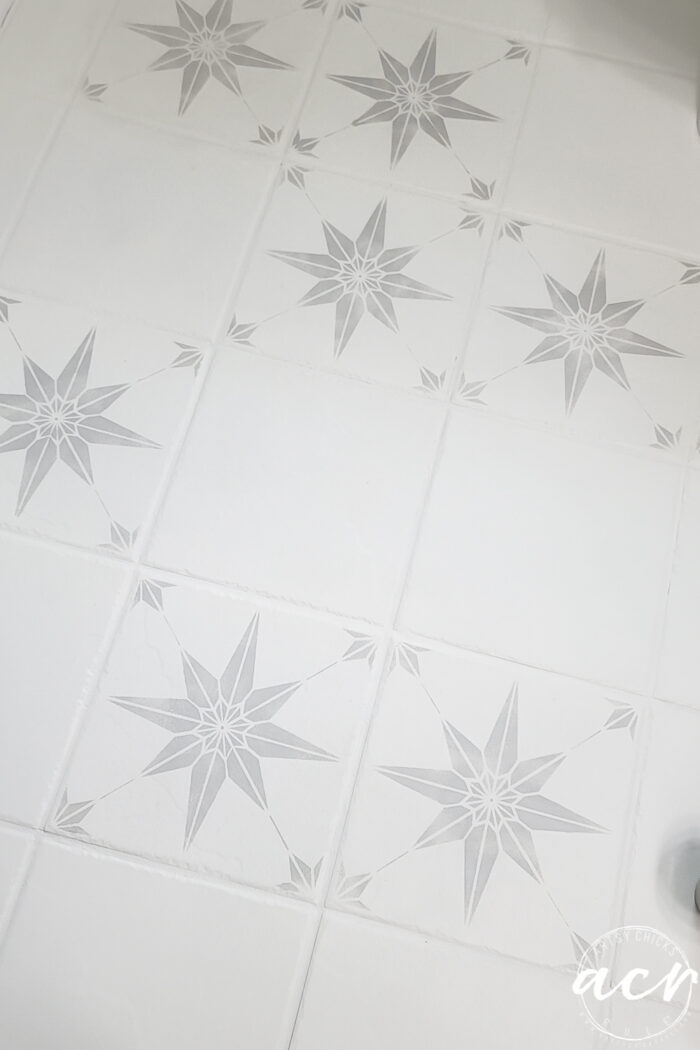
See how each of those has its own varying look?
Just remember to think “less is more” on this step.
Let sit overnight before moving on to the next step.
Step 5
Apply a finish coat to protect it. I used Matte Topcoat, 2 coats. Drying overnight between coats.
The Matte Topcoat is the perfect finish. Love it.
And that’s all there is to it!
So happy with how this turned out and I wouldn’t hesitate to do it all over again.
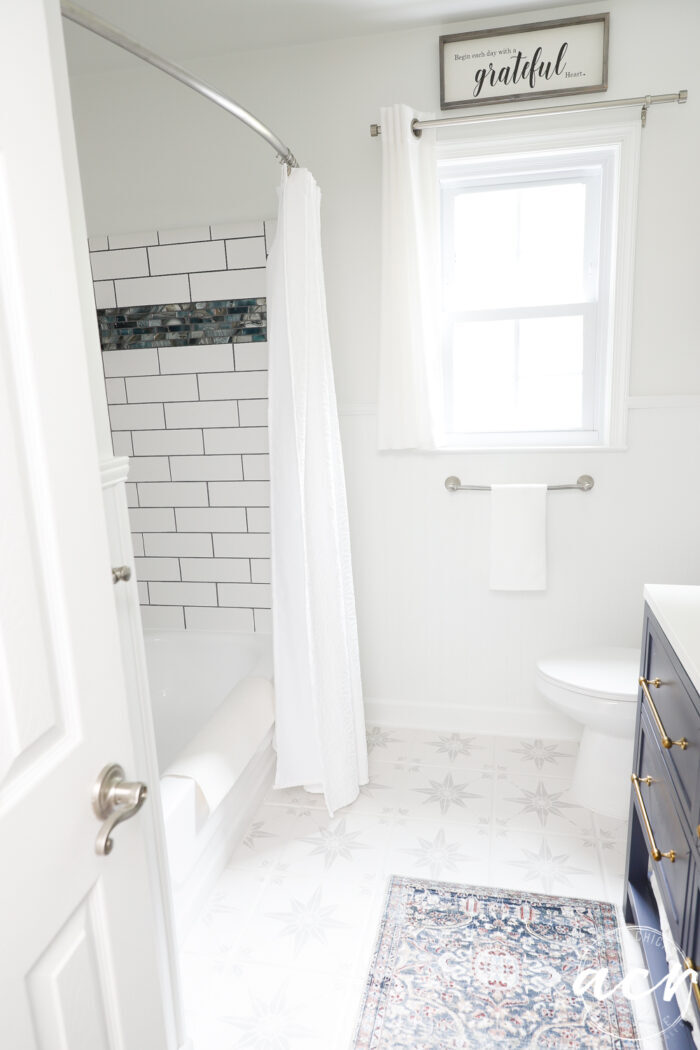
The perfect finishing touch to our bathroom remodel.
I wanted to mention that I did a lot of “drying overnight” in these oh-so-simple steps. I would say most are not required (except the Ultra Grip overnight, I do recommend that).
But, you can probably go shorter on time, if needed. I wanted to be absolutely sure everything was very dry before the next step. I mean, hey, we are painting a tile floor here! 😉
I hope this “how to paint a tile floor” tutorial is helpful to any of you who might give this go too. Or maybe you never even thought to do this…or did…but were too afraid to try.
Maybe this is the push you needed to just do it! You know I’m a DIY enabler, haha!
PIN it to save it!
Think you’ll give it a shot? Have you already tried it? Let me know below!
xoxo

[ad_2]
Source link